US & Global


To provide some background, we recorded a video call session in which Diego interviewed our client's speaker. After successfully backing up an hour of footage, the question naturally arises: what comes next? Here is a look at the process that follows.
First comes the audio. We once heard that audio is unequivocally the most important part of any film (or similar media): one can stand watching a movie that has visual errors, but when it comes to audio, it would be unbearable to go through even a few seconds of bad audio. That’s why we think audio is so important, and naturally, we got started with it.
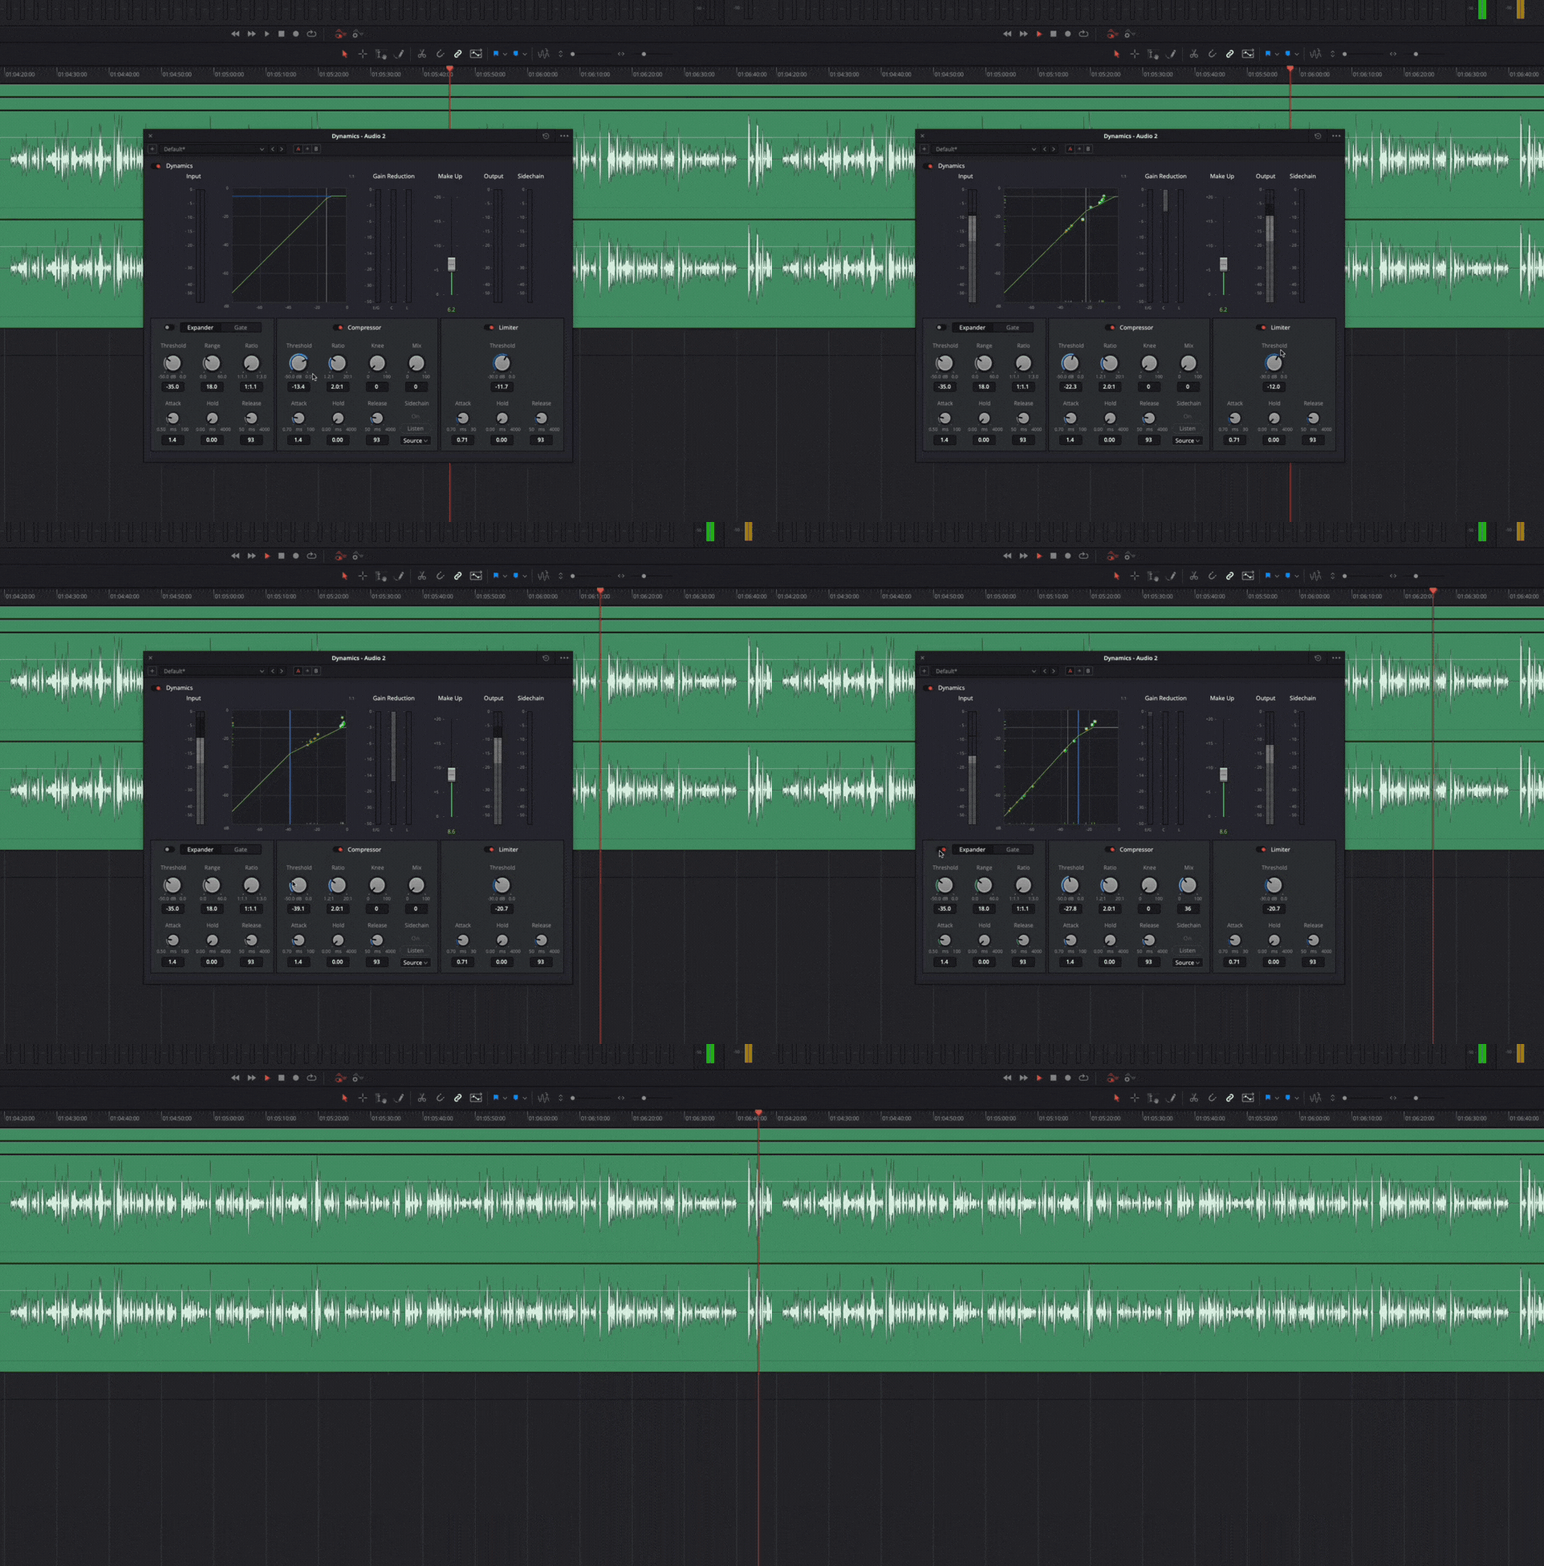
Initially, we worked on the dynamics, meaning boosting the volume levels without causing distortion: DaVinci Resolve did an excellent job with this, as tools like Descript rely heavily on AI and do not always yield good results. Sometimes they produce weird artifacts, so because audio is so critical, we preferred doing it by hand with full control over the compressor and limiter.
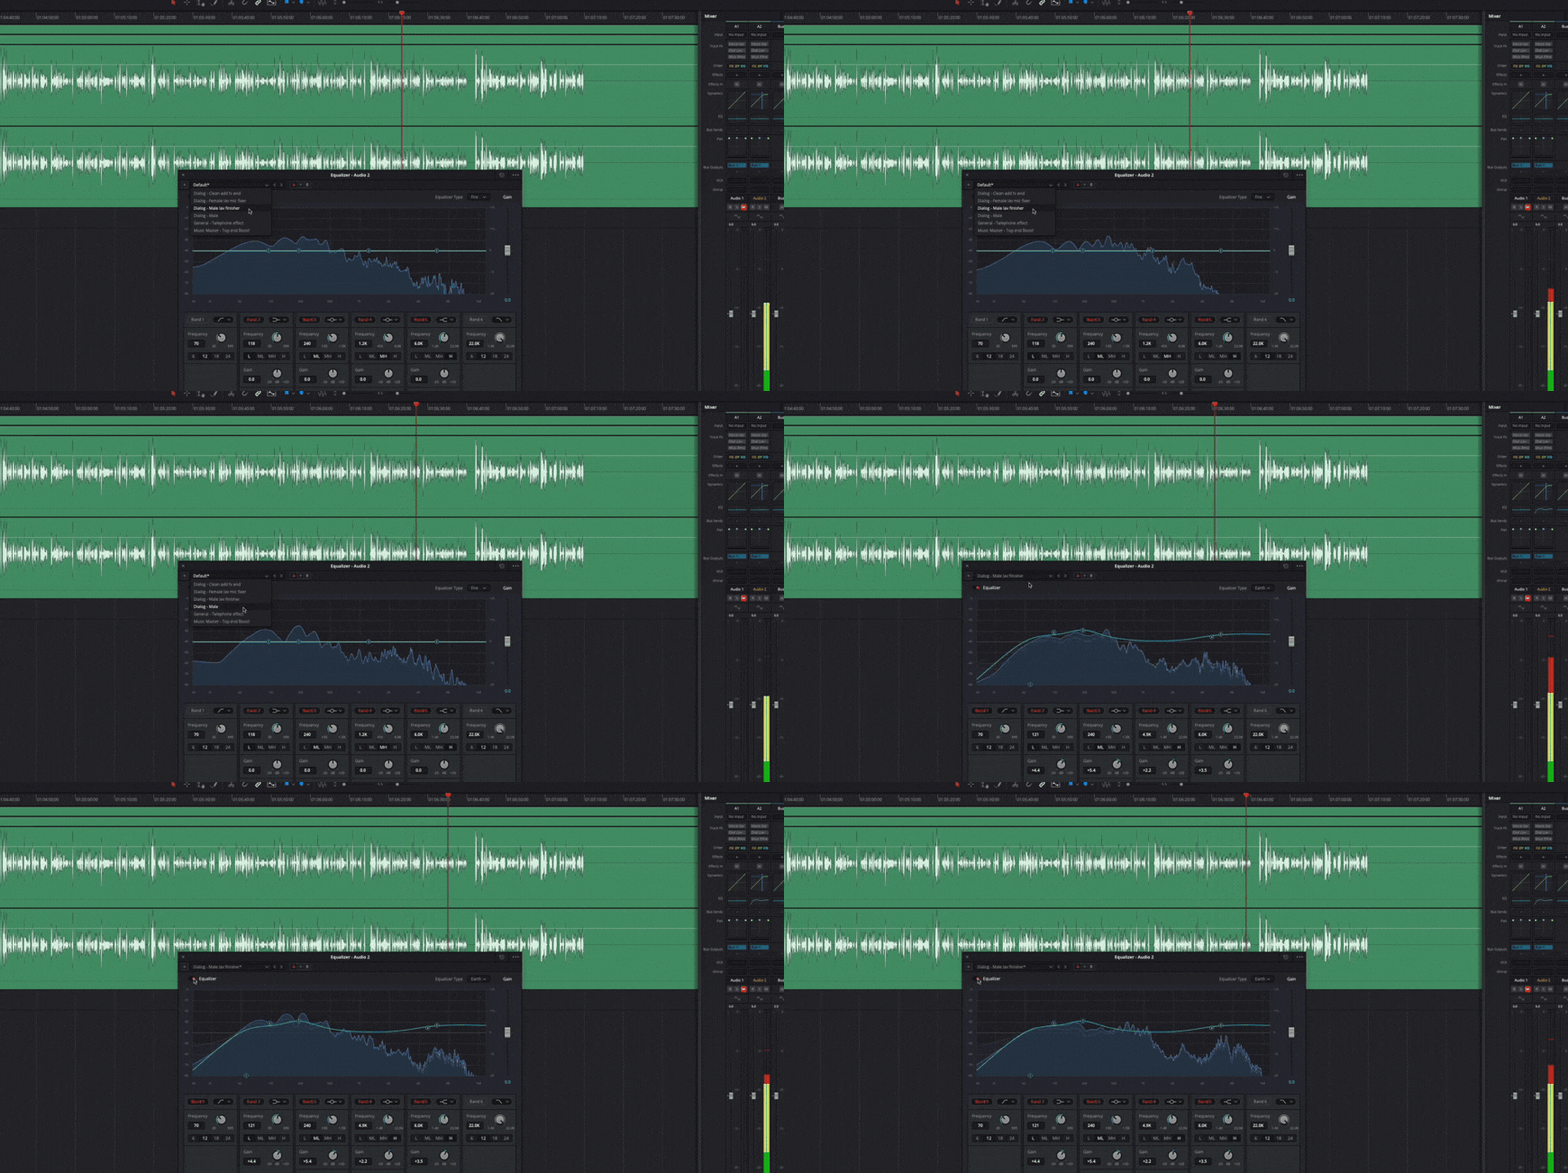
Next in the audio department was equalization: simple but key, the goal was to soften unwanted frequencies and lift the ones that make up the voice range, since we are editing a conversation.
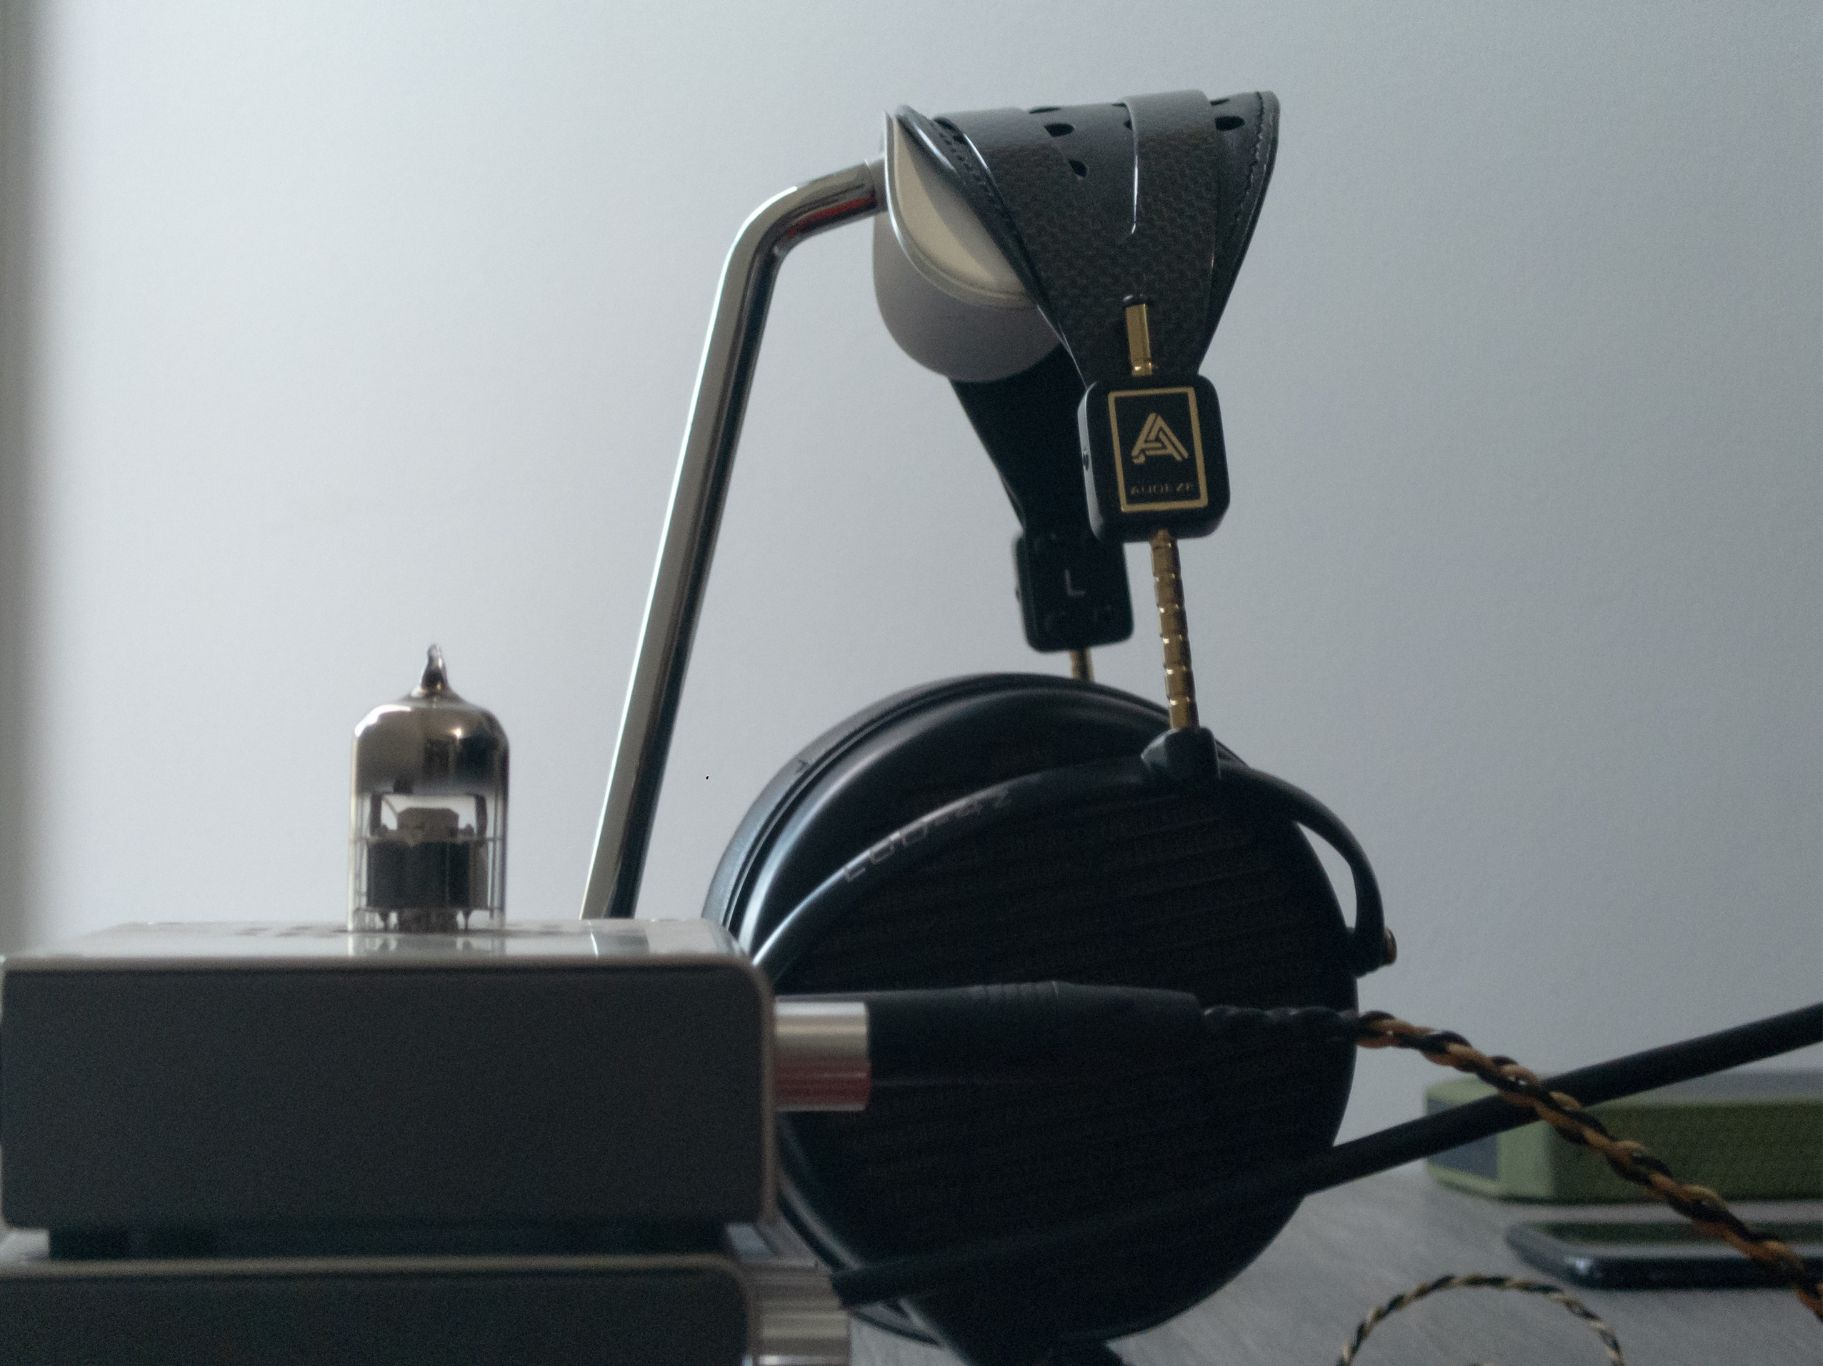
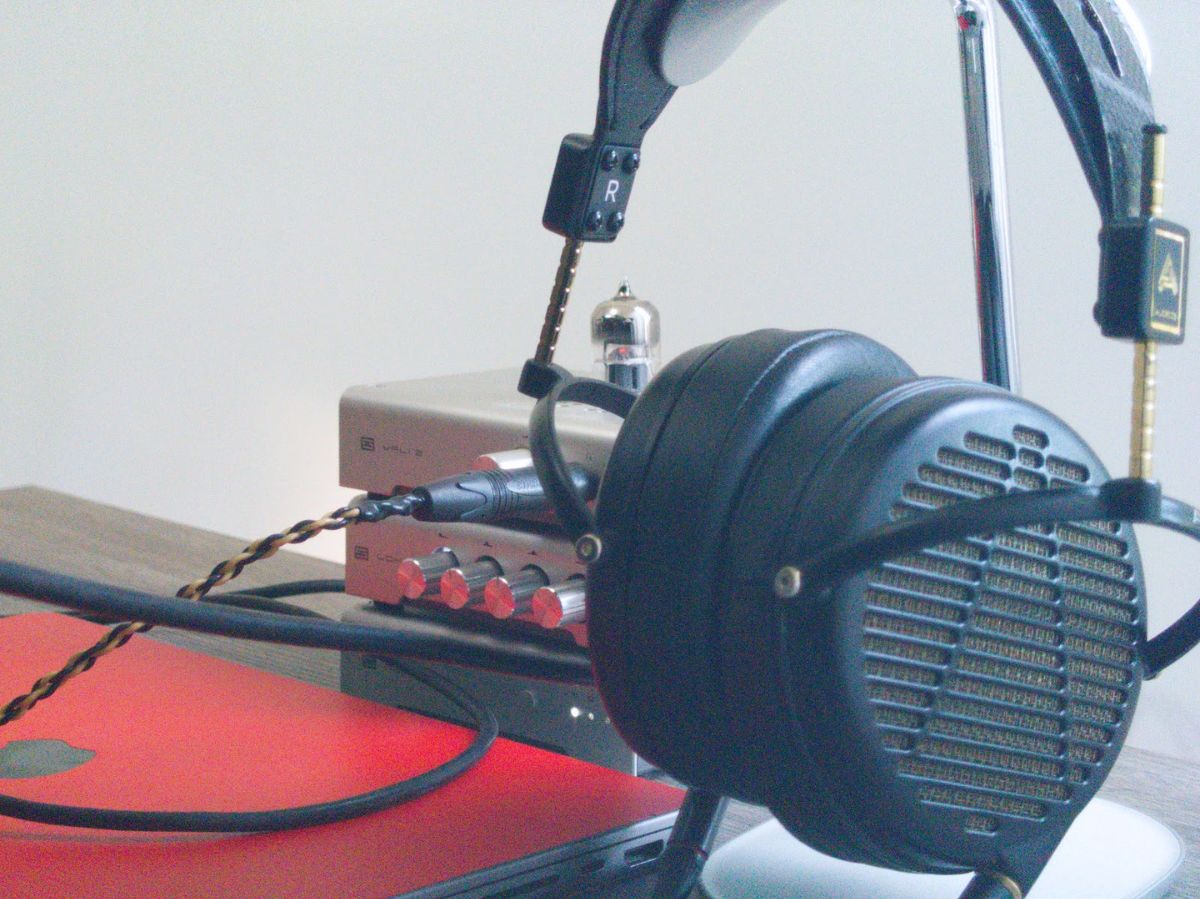
Naturally, editing audio properly requires the right hardware, so our setup included a stack of Schiit amplifiers set to neutral (Loki deactivated) and Audeze LCD-MX4 headphones.
That allowed us to match the volume and equalization we were after.
After audio is done, we move on to video: color grading is the first milestone on our list.
Even though this particular recording was done with a webcam, there are things we can (and should) do to maintain color consistency. Granted, we are far from having raw footage from a proper mirrorless camera, let alone a cinema camera. However, it’s not that we want to make webcam footage look "cinematic" – rather, we want it to feel consistent with brightness levels and color spaces common across the industry. Basically, we want someone watching this on YouTube alongside other thumbnails not to feel like something is wrong with the imagery. We start by adjusting brightness levels in Resolve.
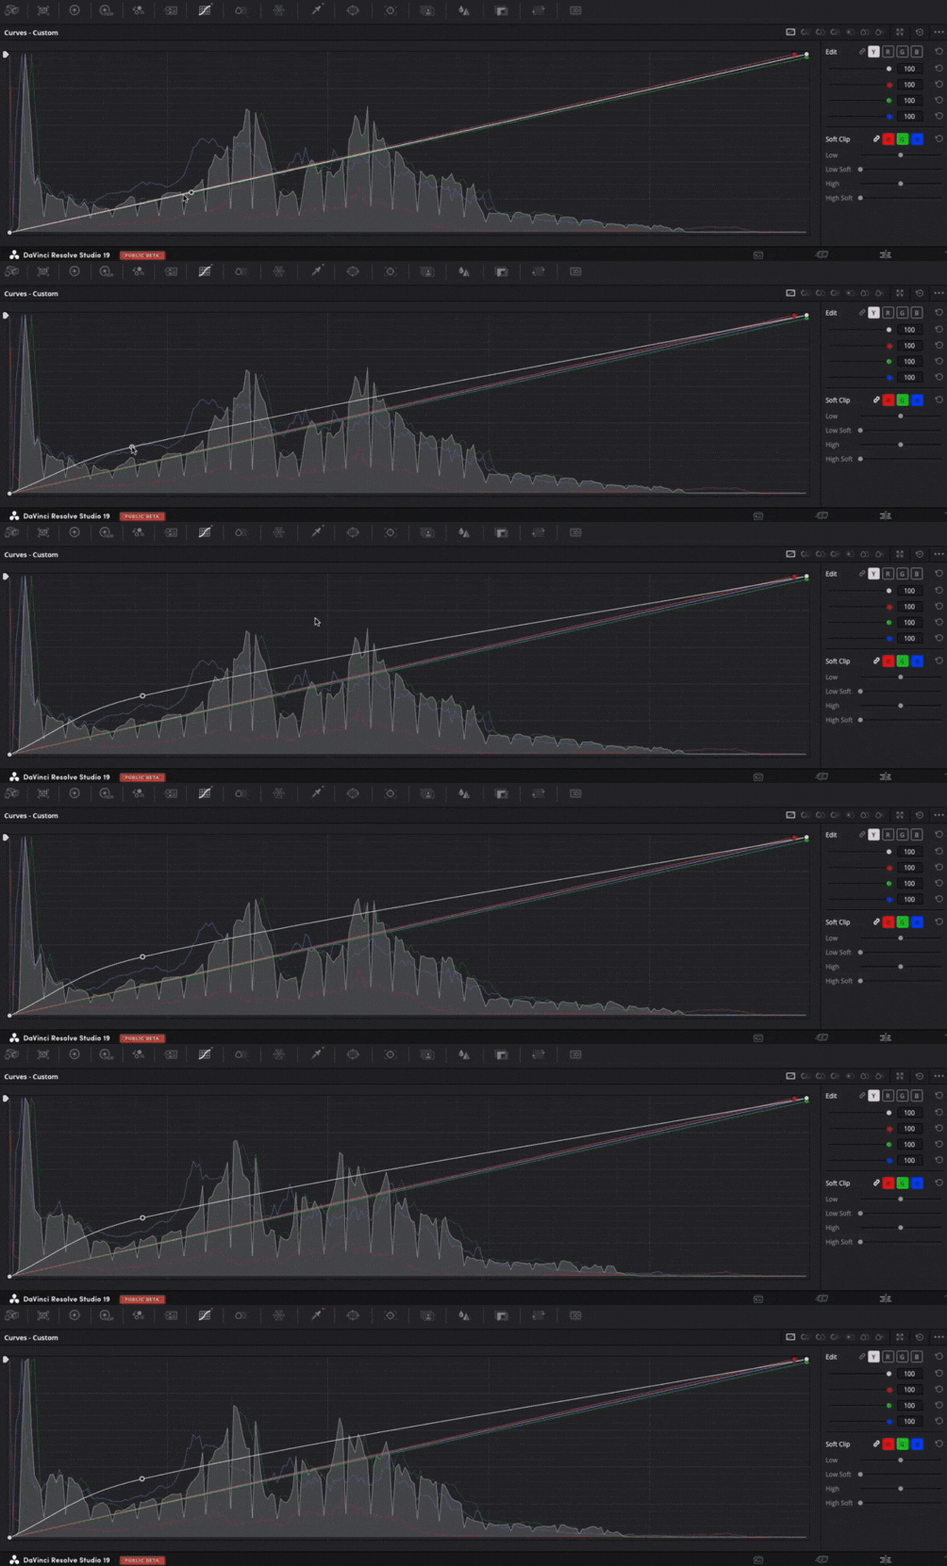
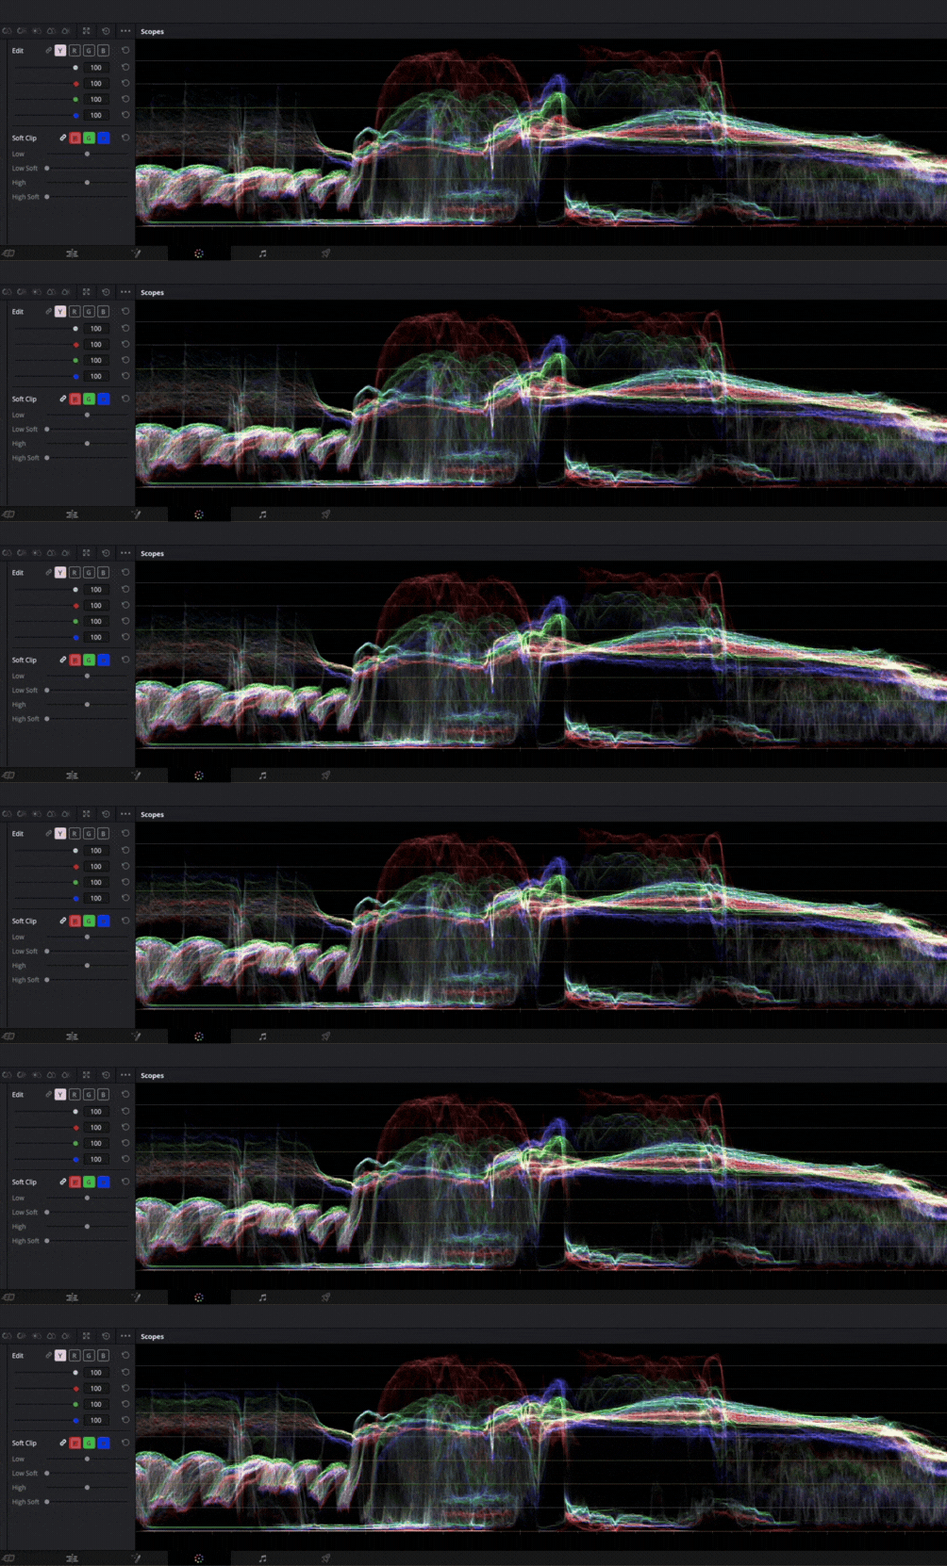
We also work on levels across color channels. The waveform allows us to check which parts of the image are bright, dark, and saturated for a specific color channel, so we can fine-tune it to keep skin tones in the desired spot.
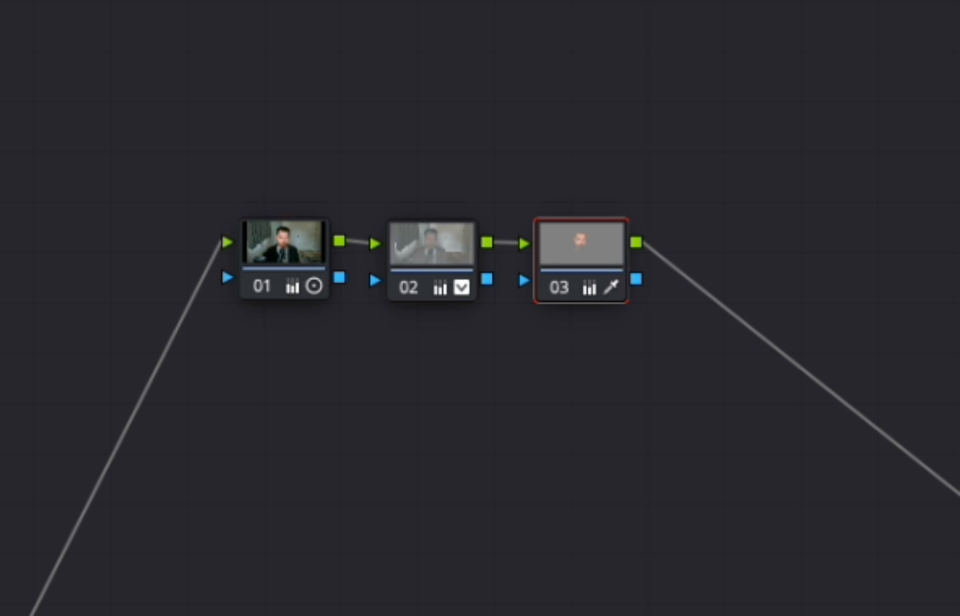
With DaVinci as our tool of choice, we organize everything into nodes.
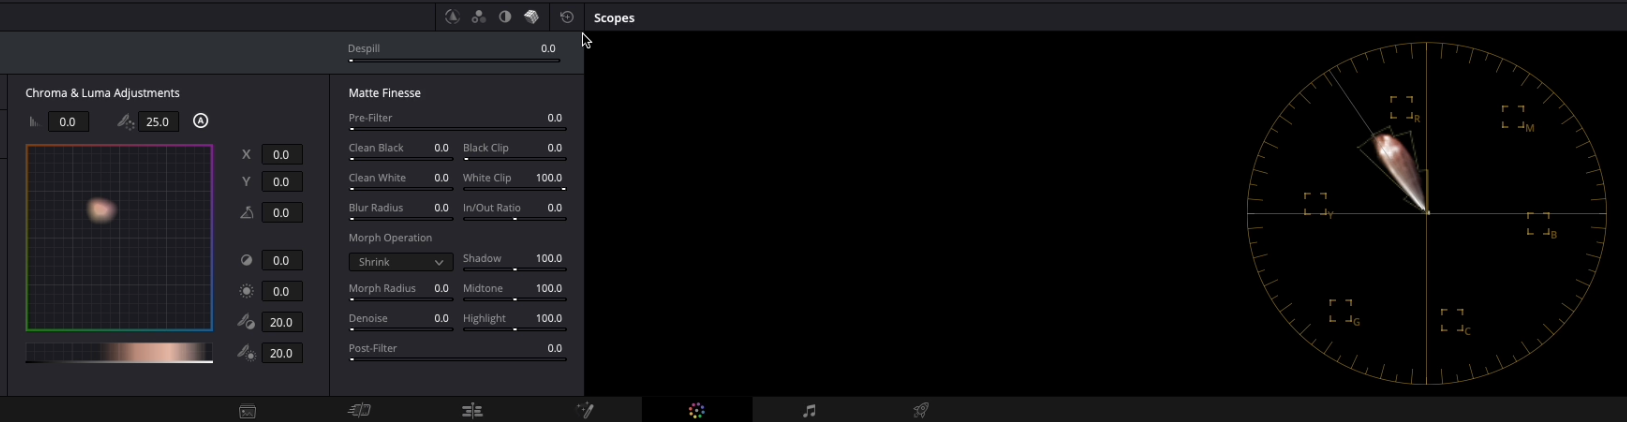
We finalize the color grading process by ensuring skin tones are placed where they belong. For this, we use the vectorscope to make sure skin shades lie along the skin tone line between Y and R – all skin should sit there when it comes to color for a simple reason: we all have blood running under our skin. This process guarantees a professional look and avoids strange purple shifts, which webcams often produce by default. Again, this ensures consistency with professional standards and yields imagery that won't feel off.
With the basics of audio and color grading complete, we head from Resolve to Descript, which we decided to use for this particular project (we are software-agnostic anyway, so this is by no means a commitment to one software over another; we use many tools depending on the scenario).
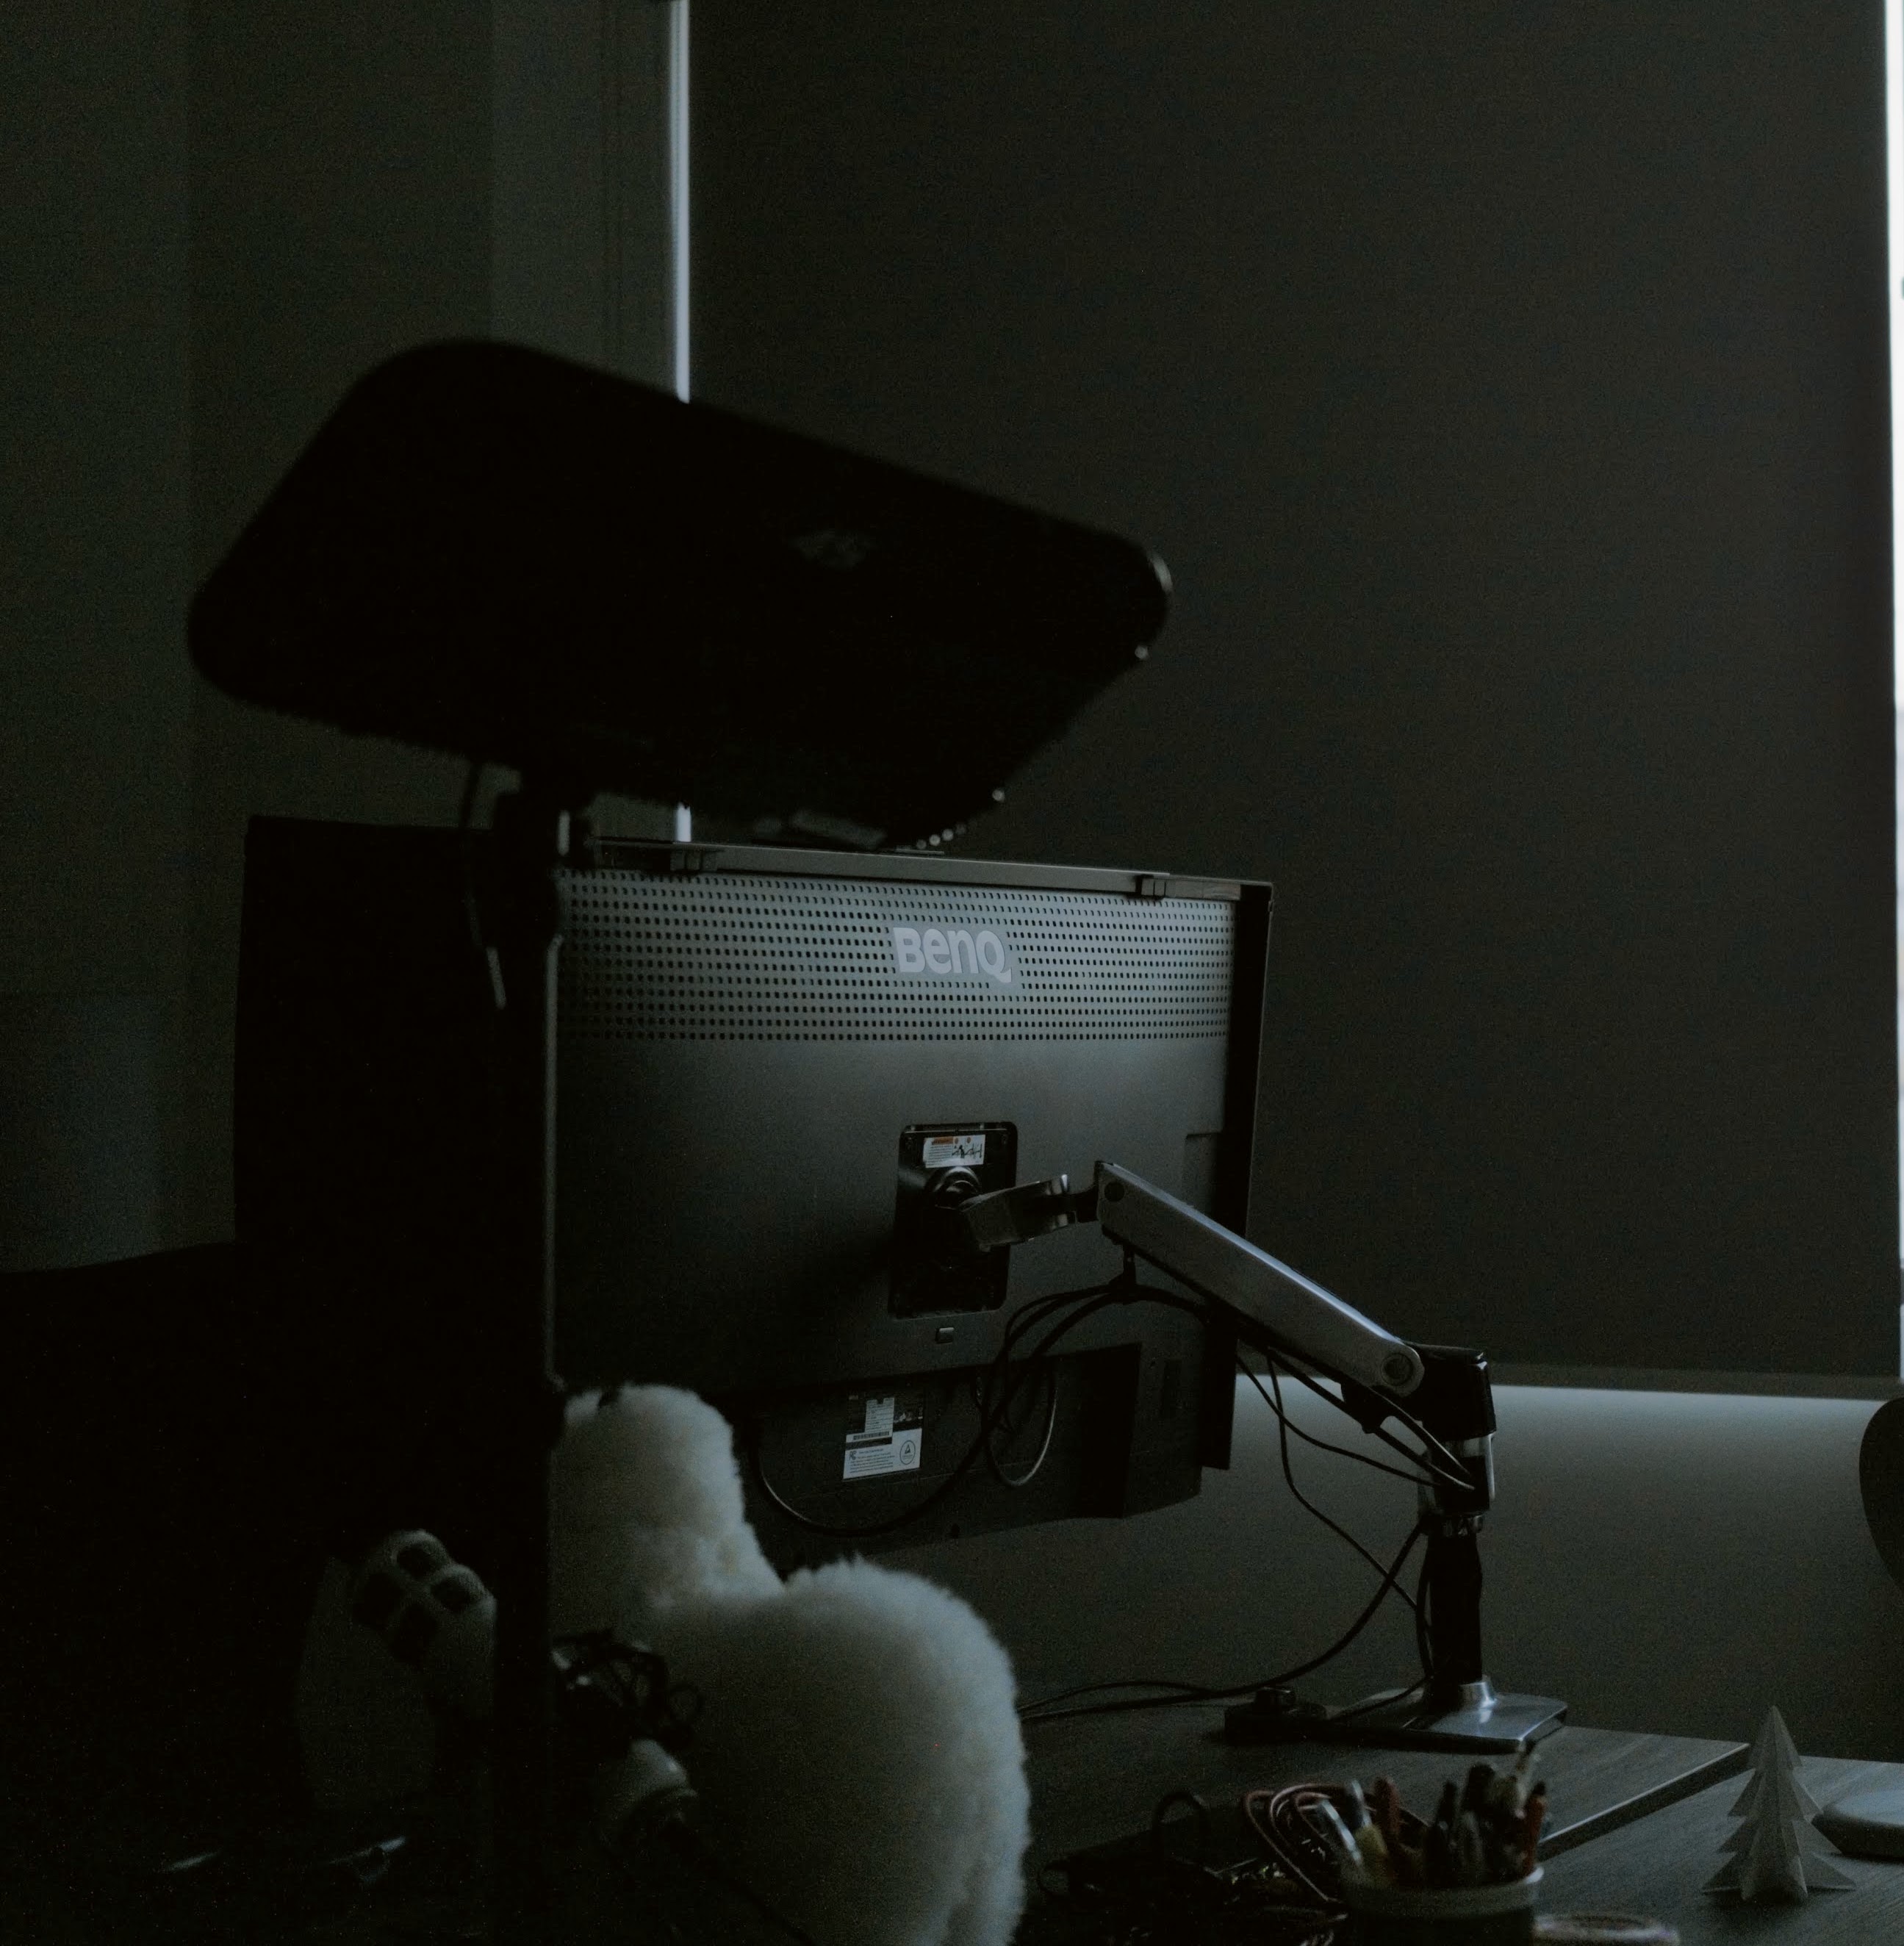
And of course, just like with audio, we do require proper color grading hardware: this time a BenQ SW321C is used, X-rite calibrated to sRGB for it s the most widely used color space for websites and online content.
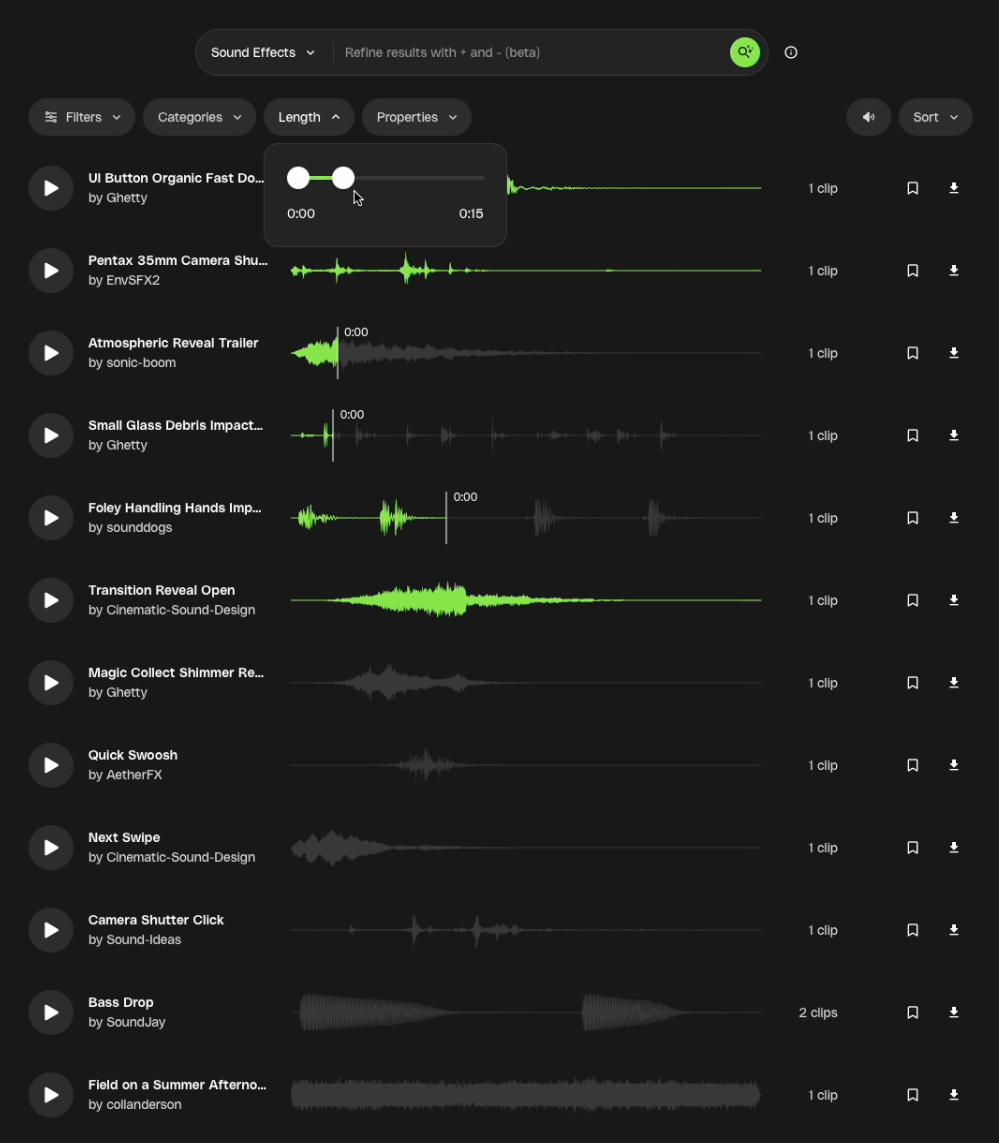
For the first project of a series—which was the case for this “Answering questions from the internet” series—we designed audio effects for the intro of the long-format video as well as the short capsules. We started by searching for sound effects and rhythms to build something representative of the brand for this series. We decided to try something drum-based with a jazz feel, and also experimented with pizzicato orchestral sounds.
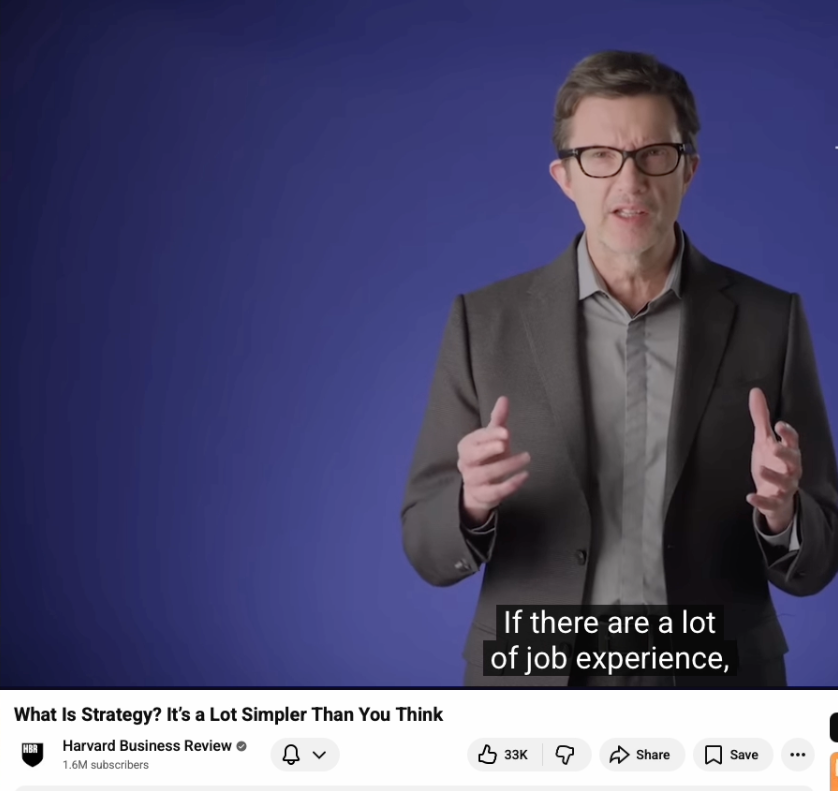
We also gathered visual style references for the intro and short capsules presentation, looking particularly at Harvard Business Review videos for inspiration.
With that in mind, we built an intro following that style, combining text, visual effects, the logo for branding, and audio effects.
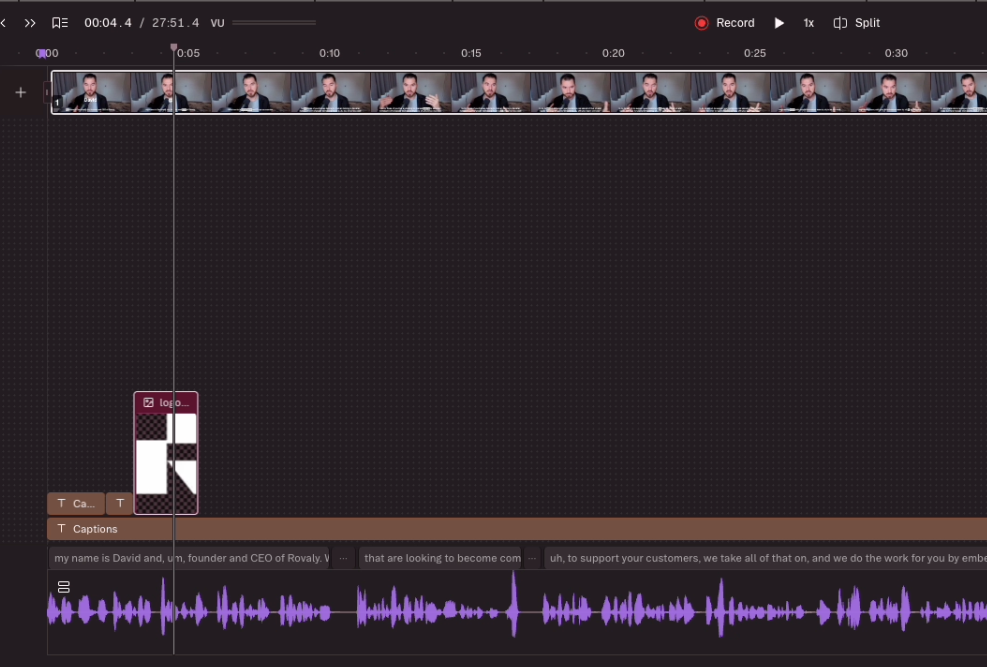
We also created the intro style for each chapter of the long-format video, which corresponded to answered questions: each question served as a chapter, complete with captions displaying the question text.
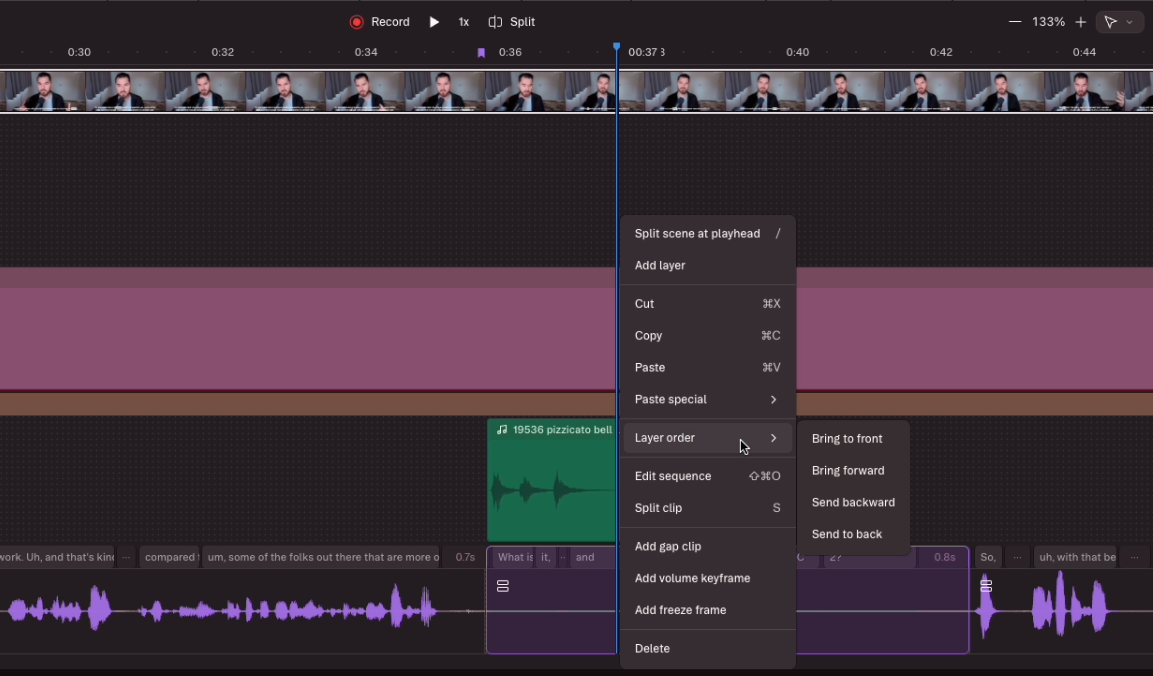
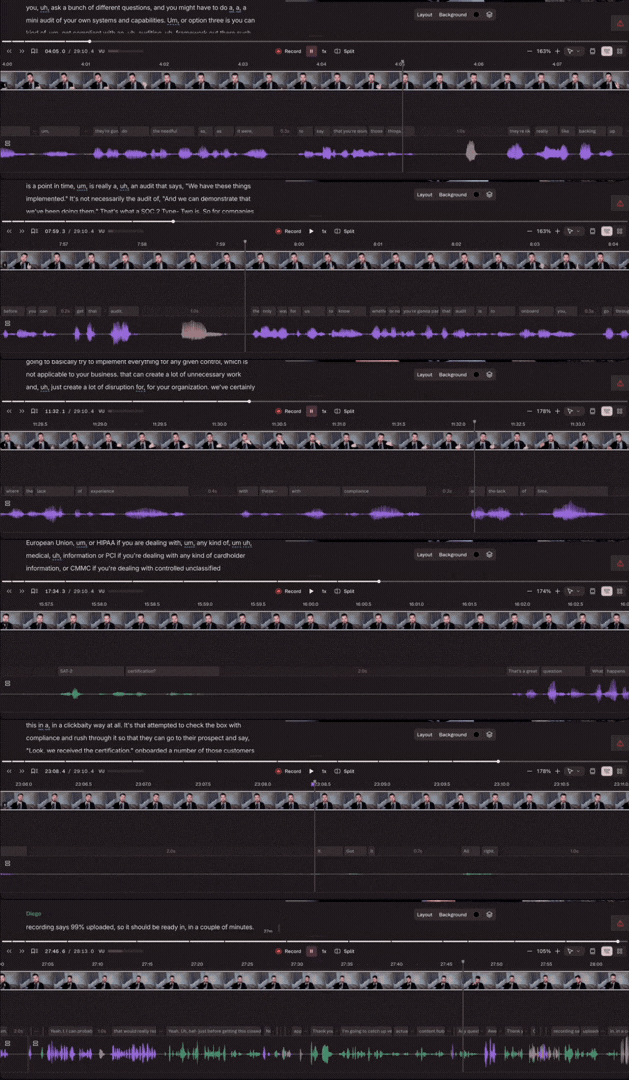
Next, we cut through the entire conversation using a blend of AI assistance and human monitoring (always keeping a human at the wheel) to properly identify each question, separate them into chapters, and name each chapter accurately.
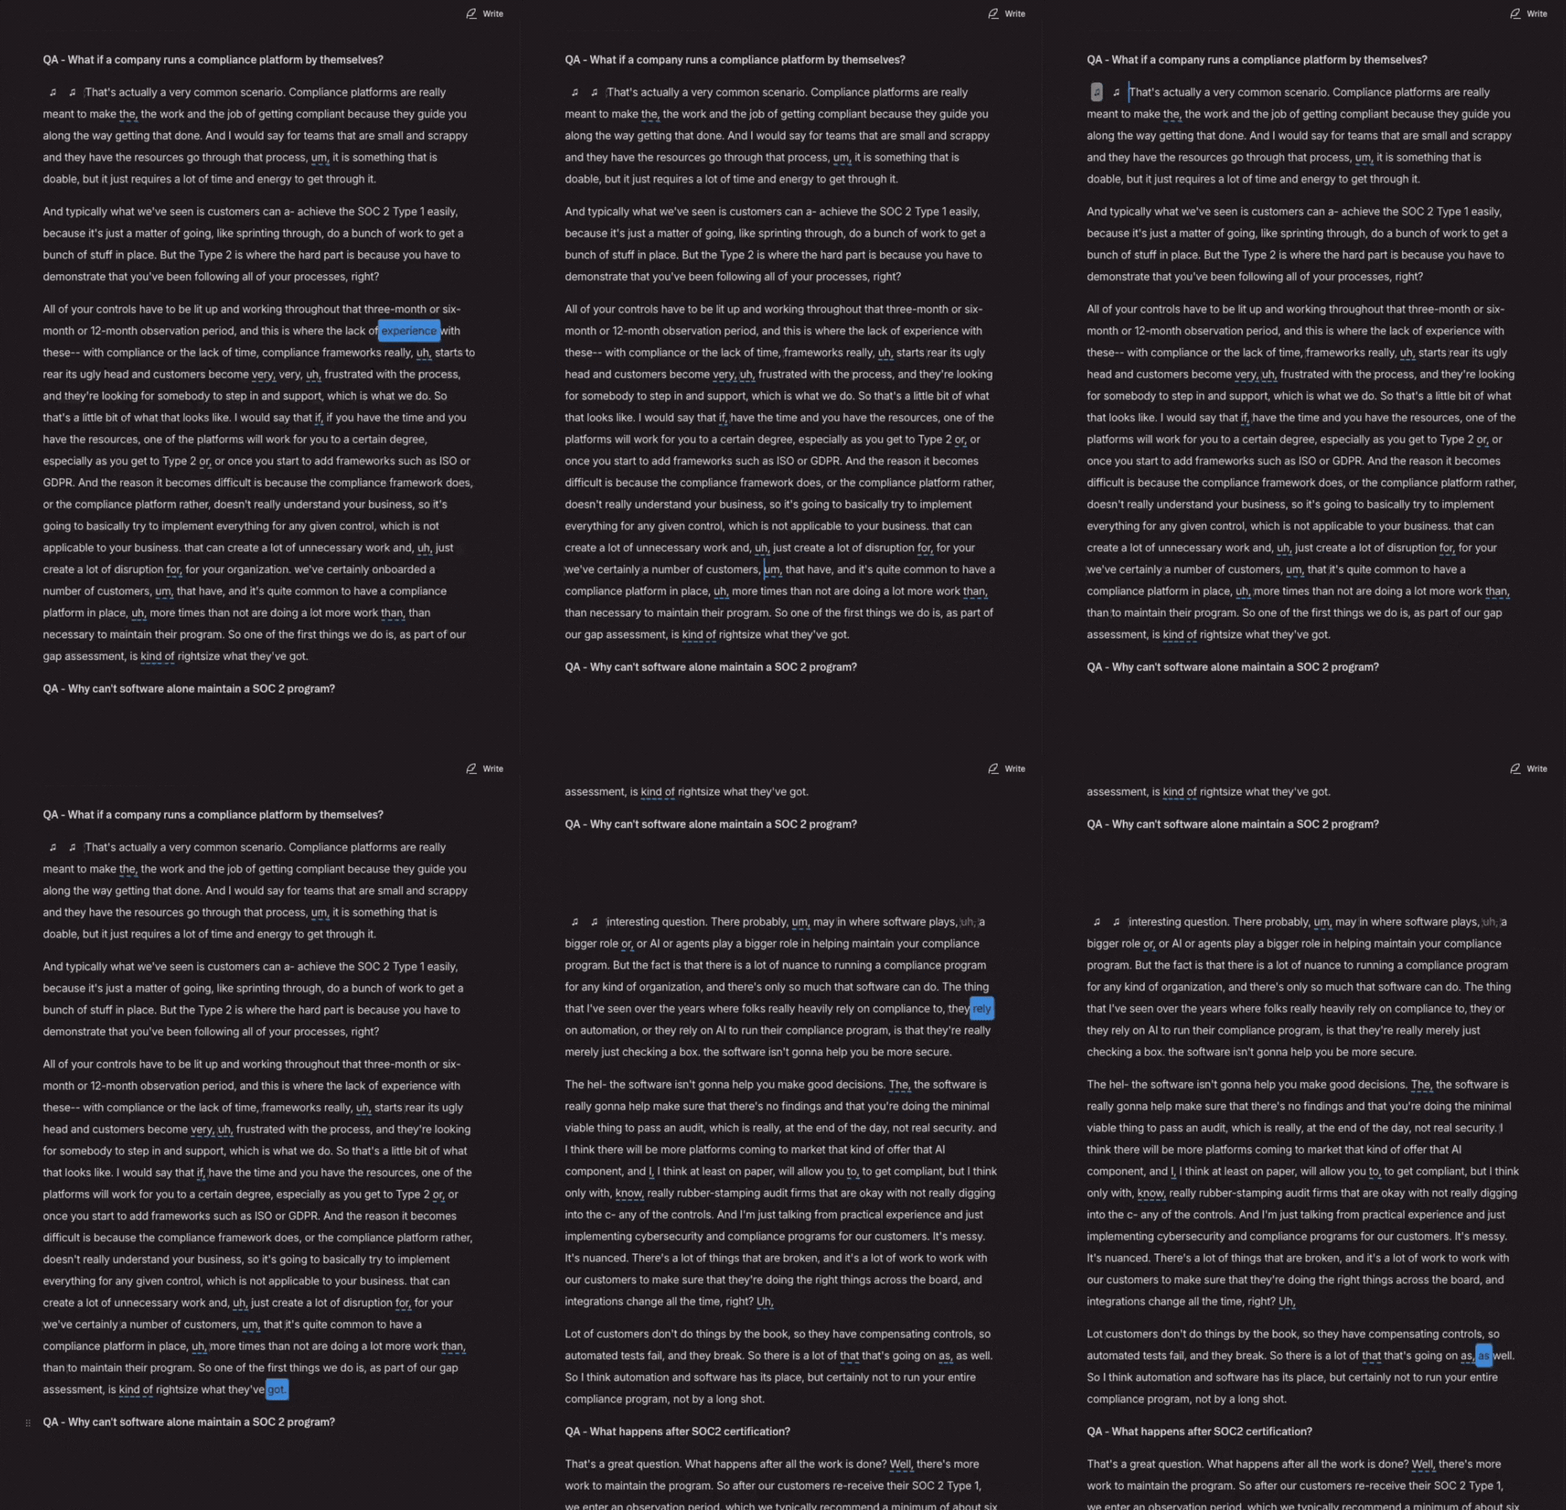
What follows is cleaning up the transcript – we use AI across several iterations to do this, but human eyes read through every line, without skipping a single paragraph. Why? AI can make major mistakes, and saving 10 minutes by skipping proofreading isn't worth the risk of losing context or damaging the content. AI is a tool here, and a human is always at the wheel, remaining accountable, ensuring quality, and stepping in manually as needed.
Then, semi-automated work takes over to edit down the session and set up captions and chapter text throughout.
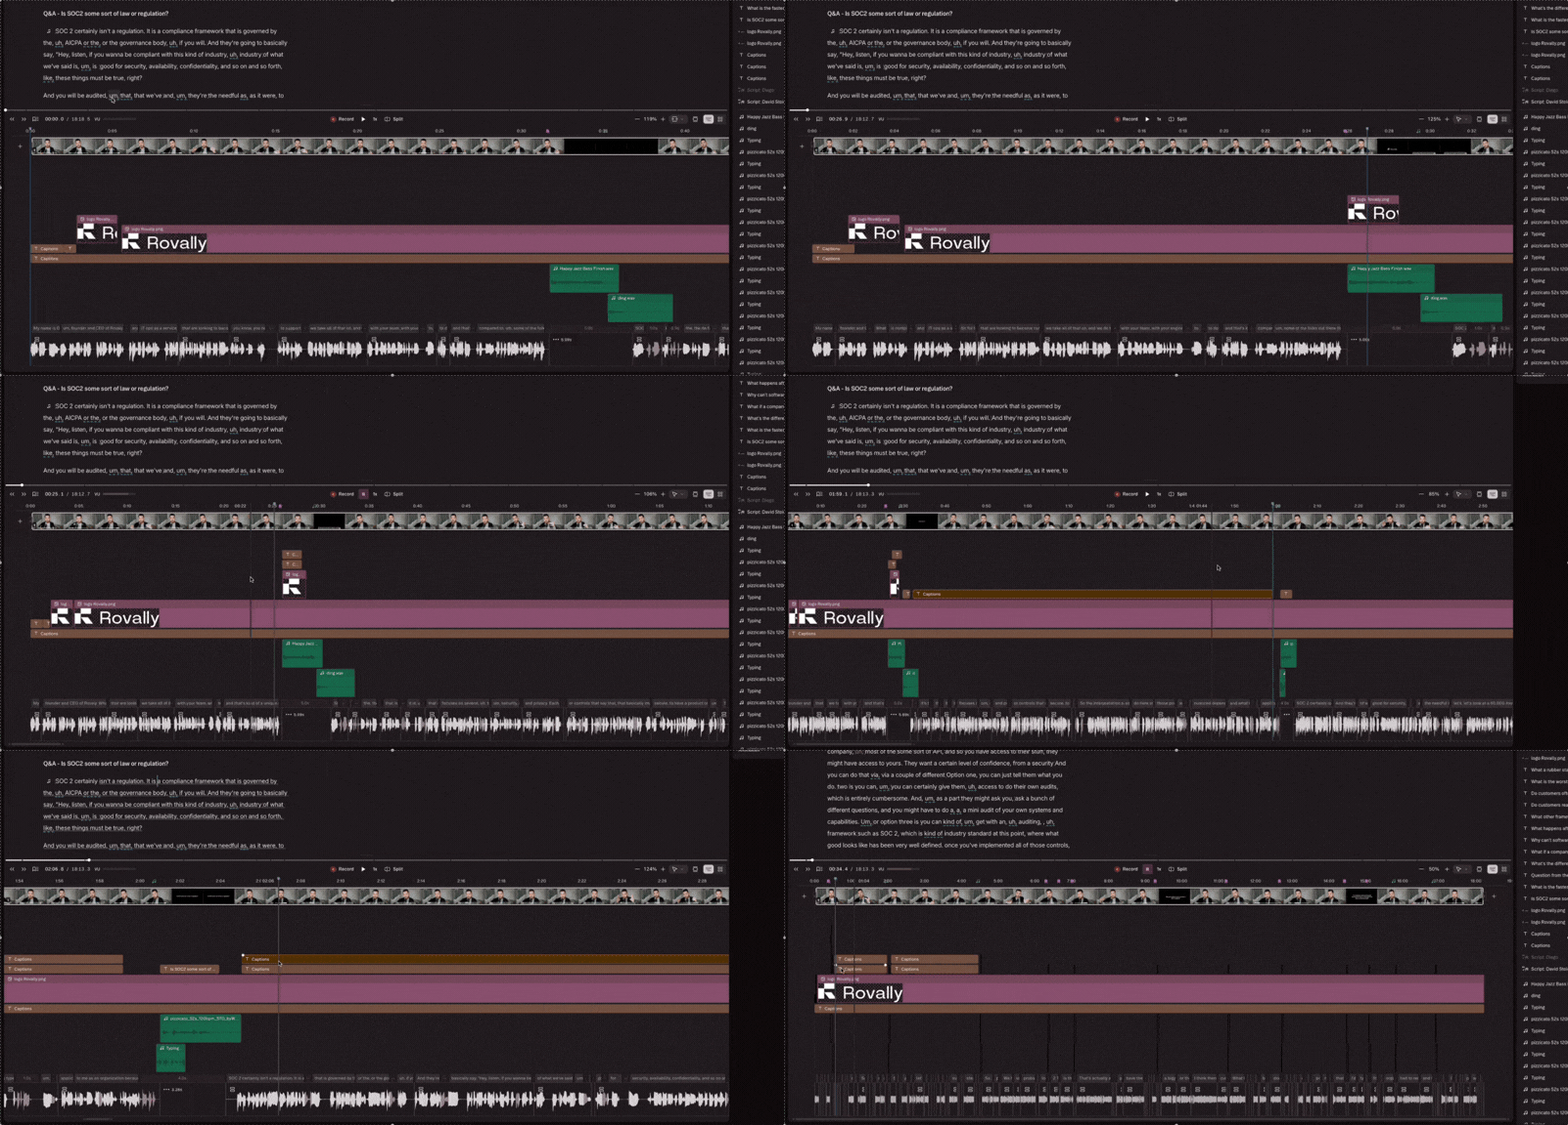
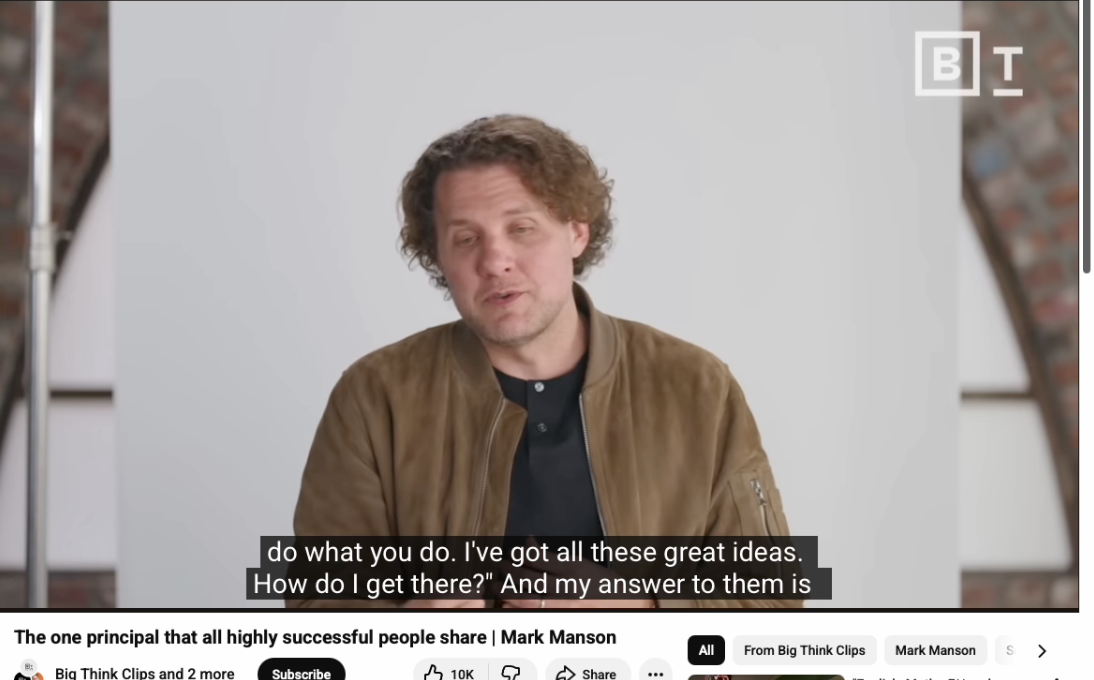
At this point, we focus on how the edit flows. For inspiration, we turned to a reference clip from Big Think and examined their editing style, adopting several key elements from it.
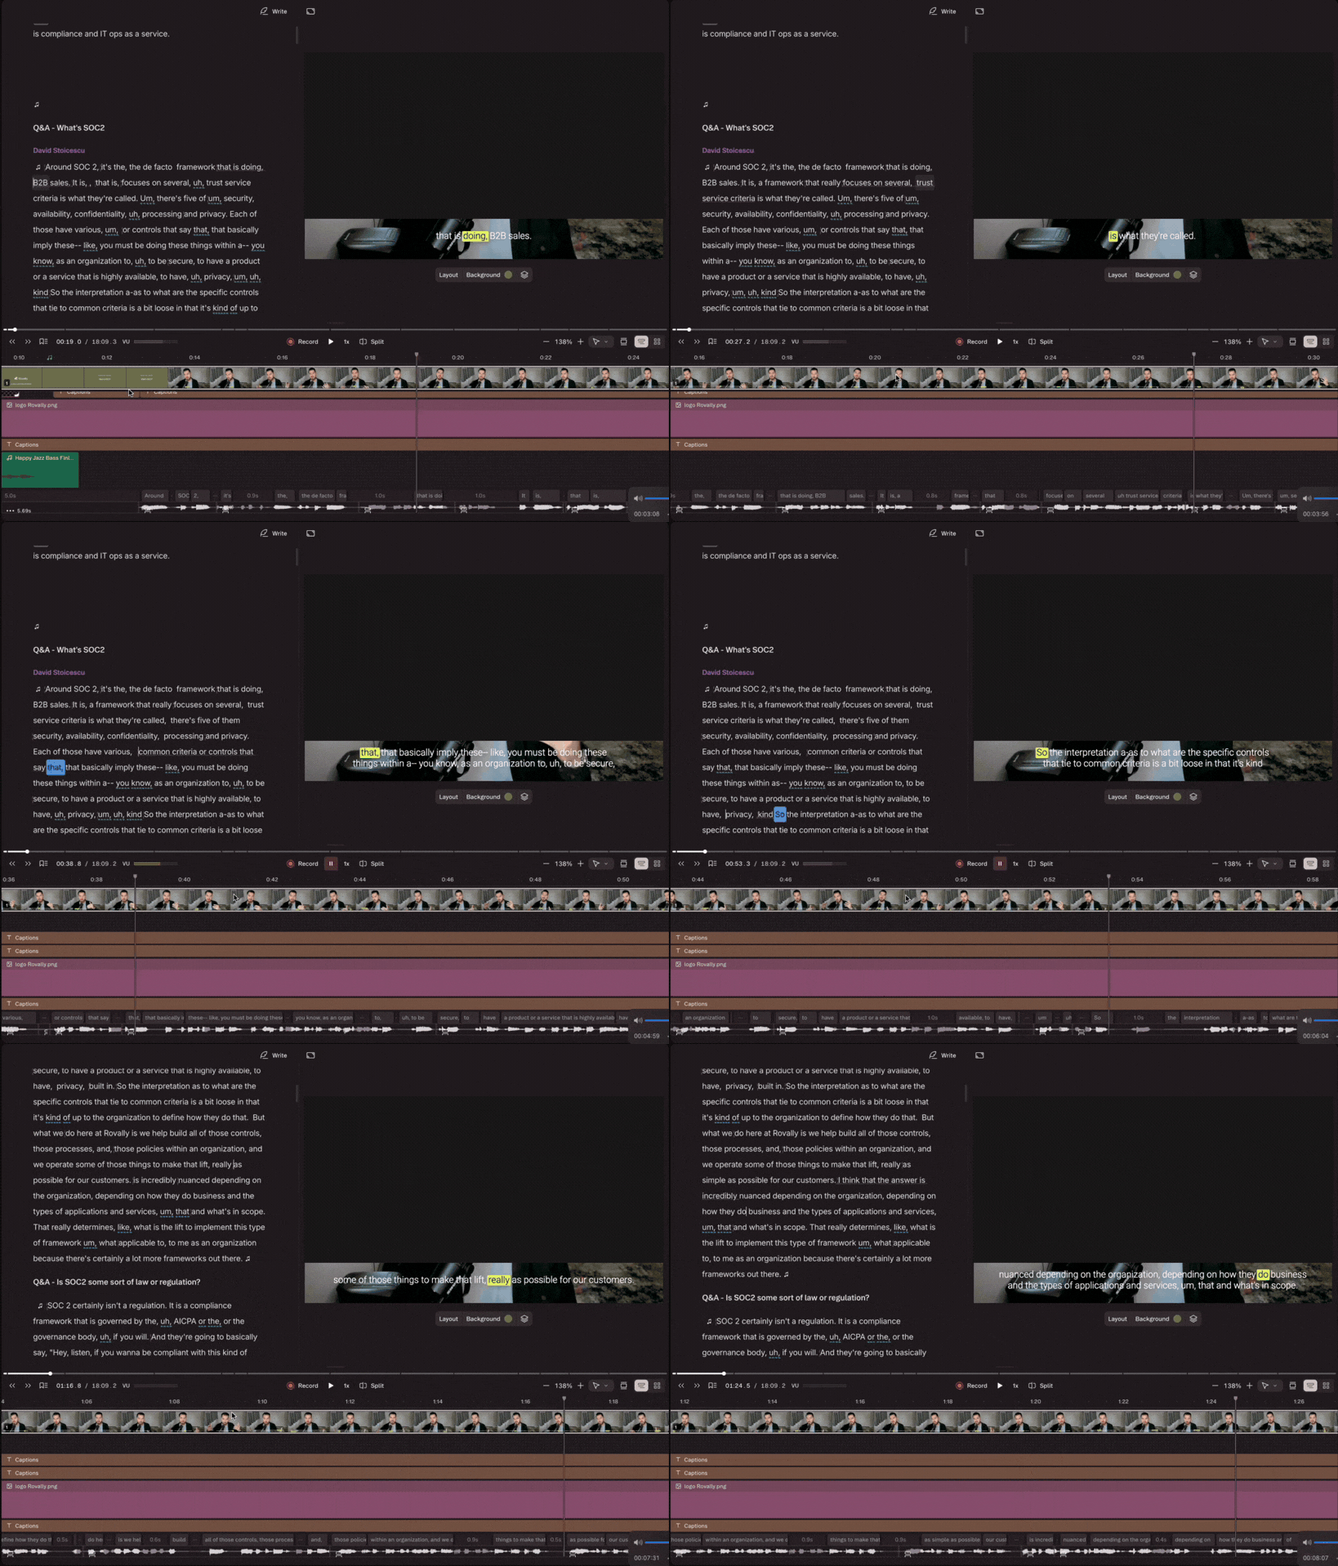
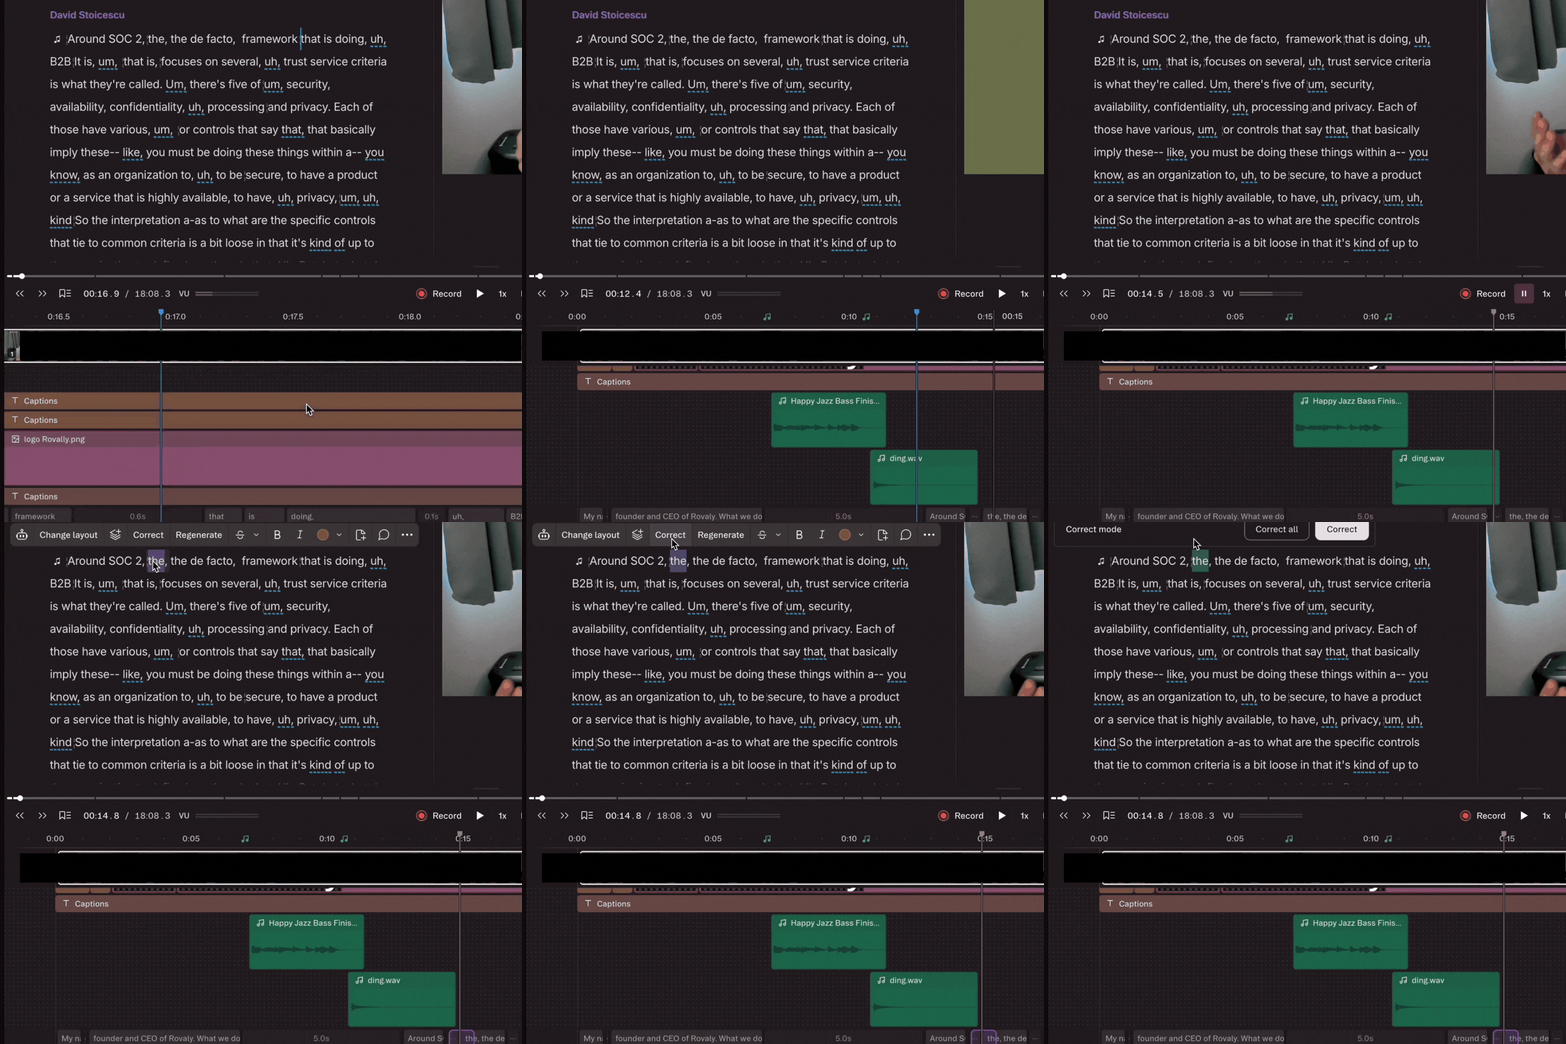
Then we give the full script a final read-through and polish it for better clarity: we work mostly by hand, correcting phrases AI transcribed incorrectly or awkwardly, and fixing technical terms—from specialized acronyms like “SOC 2 Type 2” to simple brand names. It’s all about investing a few extra minutes into deep quality control. It’s worthless if it isn't polished.
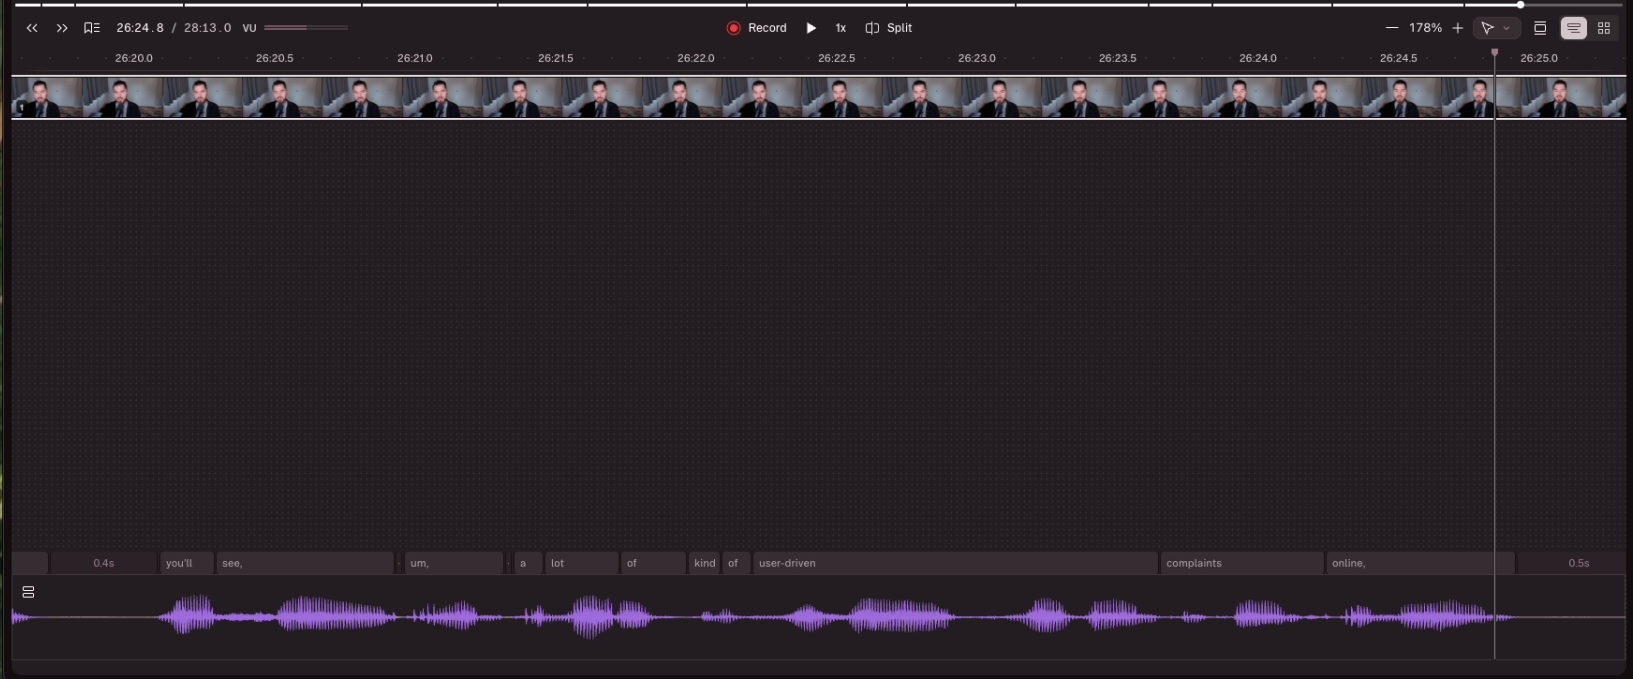
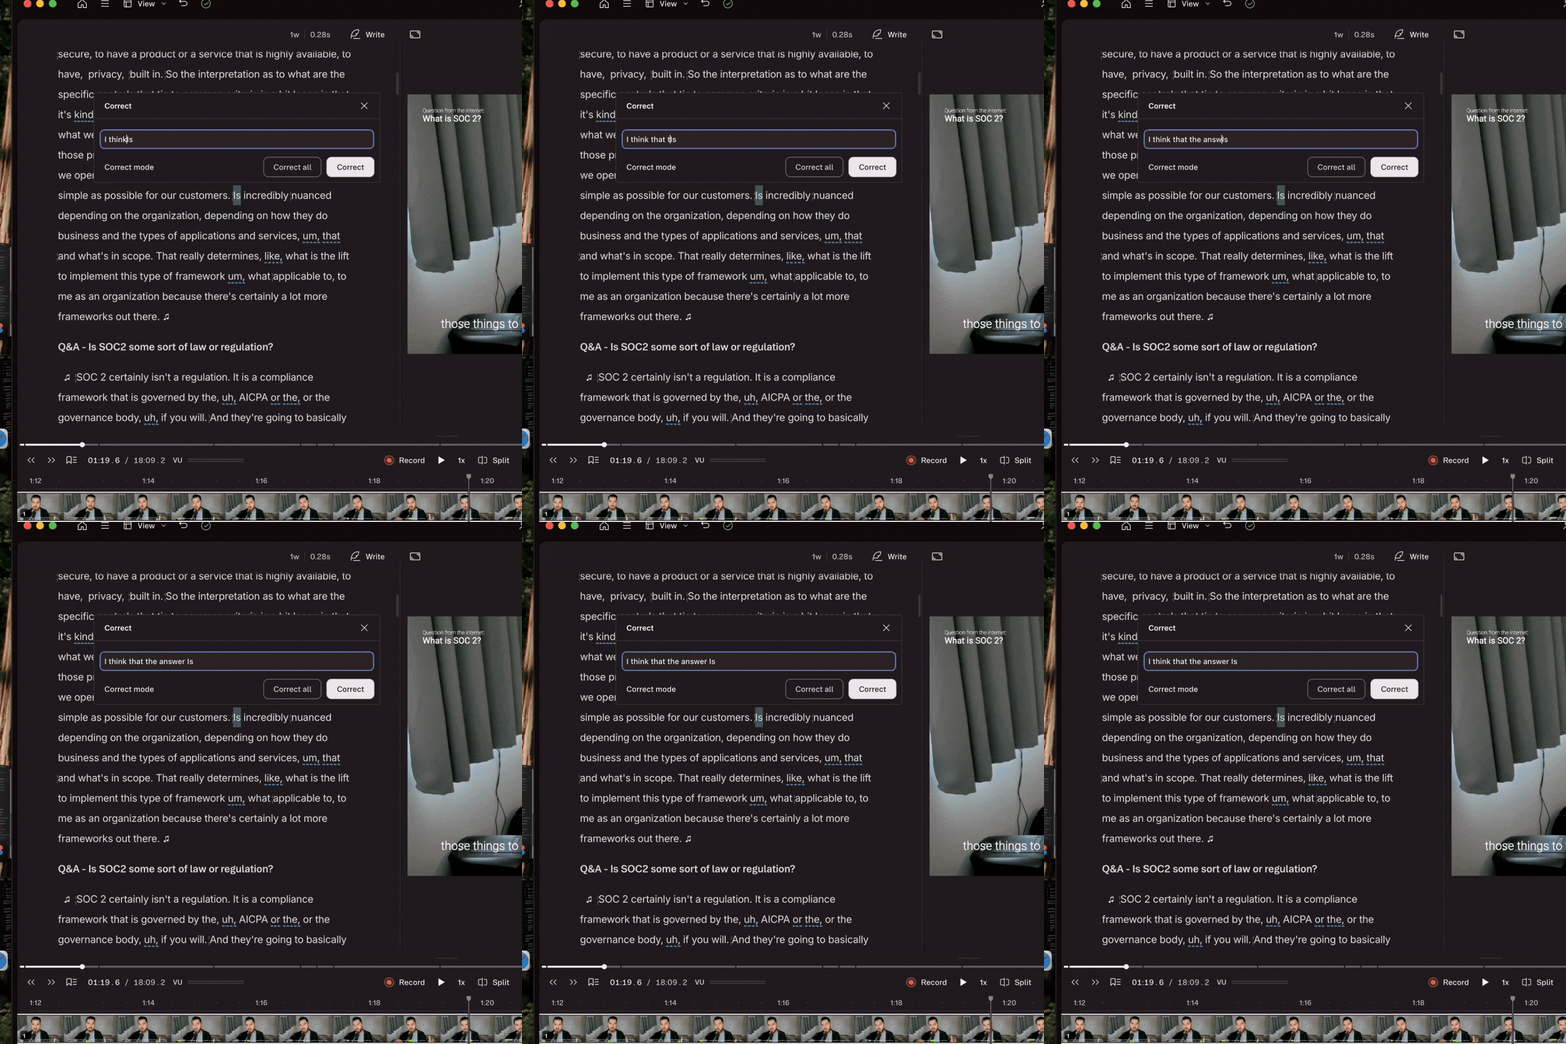
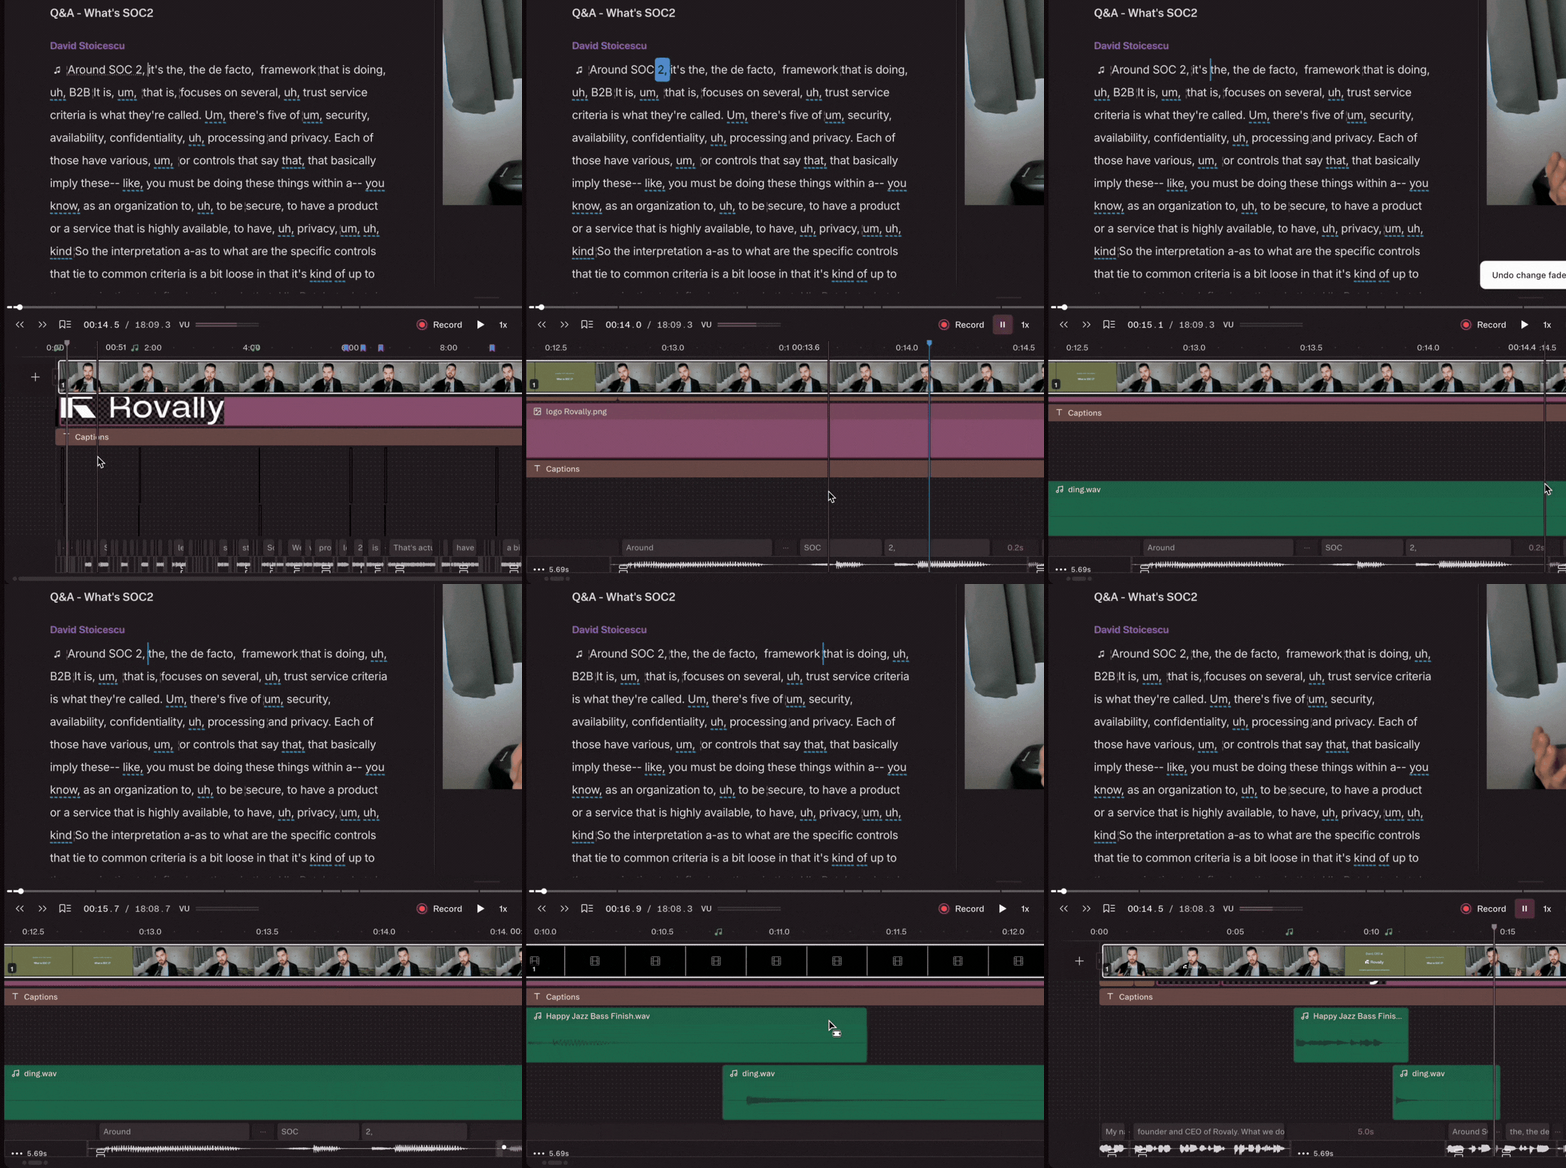
Transcriptions also often lack clarity and context, which we add to ensure comprehension for viewers watching without audio on social media short clips. Take this example where we added crucial context to a sentence that initially started with just a standalone verb in the transcript (which sounds natural in spoken audio, but reads awkwardly in text).
Then we refine fine details in the intro text, logo, and audio effects, carefully syncing them so everything feels rhythmic and polished: for instance, aligning word starts and pauses with sound effects (using a light drum mix here) alongside the entrance and exit of the logo, name, and speaker title.
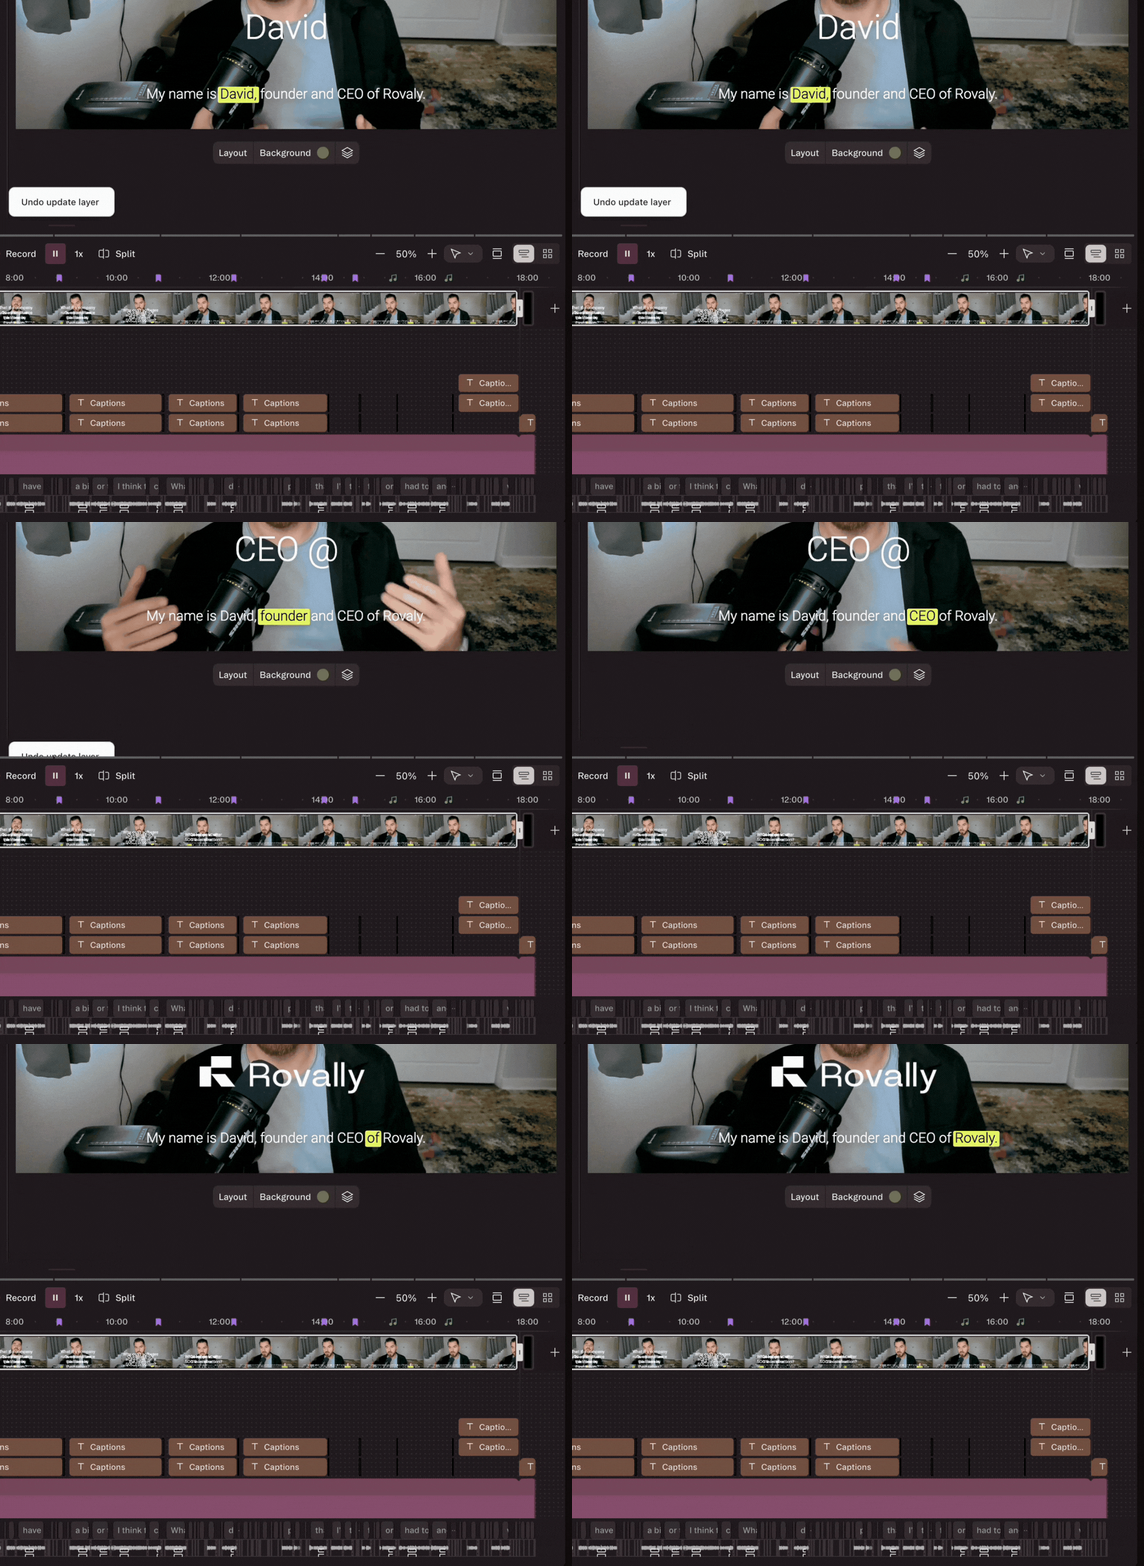
We continue fine-tuning the audio effects and extend that work across the rest of the project. You might wonder about filler words like “ums,” by the way: for most projects, we leave some in the video audio to maintain natural pacing, but remove them from the captions. That prevents jarring jump cuts in the video—you don't see those in movies, and watching a YouTube video with cuts every three words gets exhausting. Keeping the video cuts smooth feels much more natural; however, we still strip filler words out of the transcript and captions so viewers get clean text without awkward visual jump cuts.
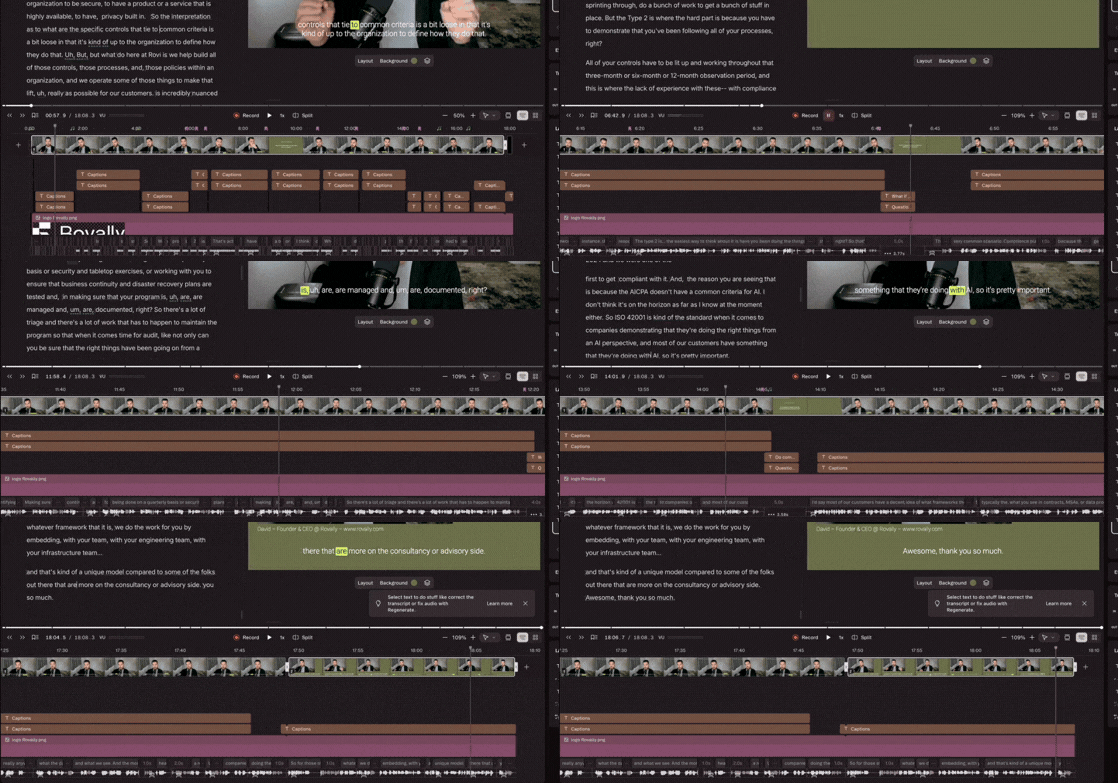
This includes setting up the intro for each chapter or content capsule, which will later be exported as standalone shorts. The key to efficiency here is tackling the long-format video first, which prepares nearly everything needed for the shorts. Investing heavier effort upfront makes the subsequent work easier and yields a higher-quality result.
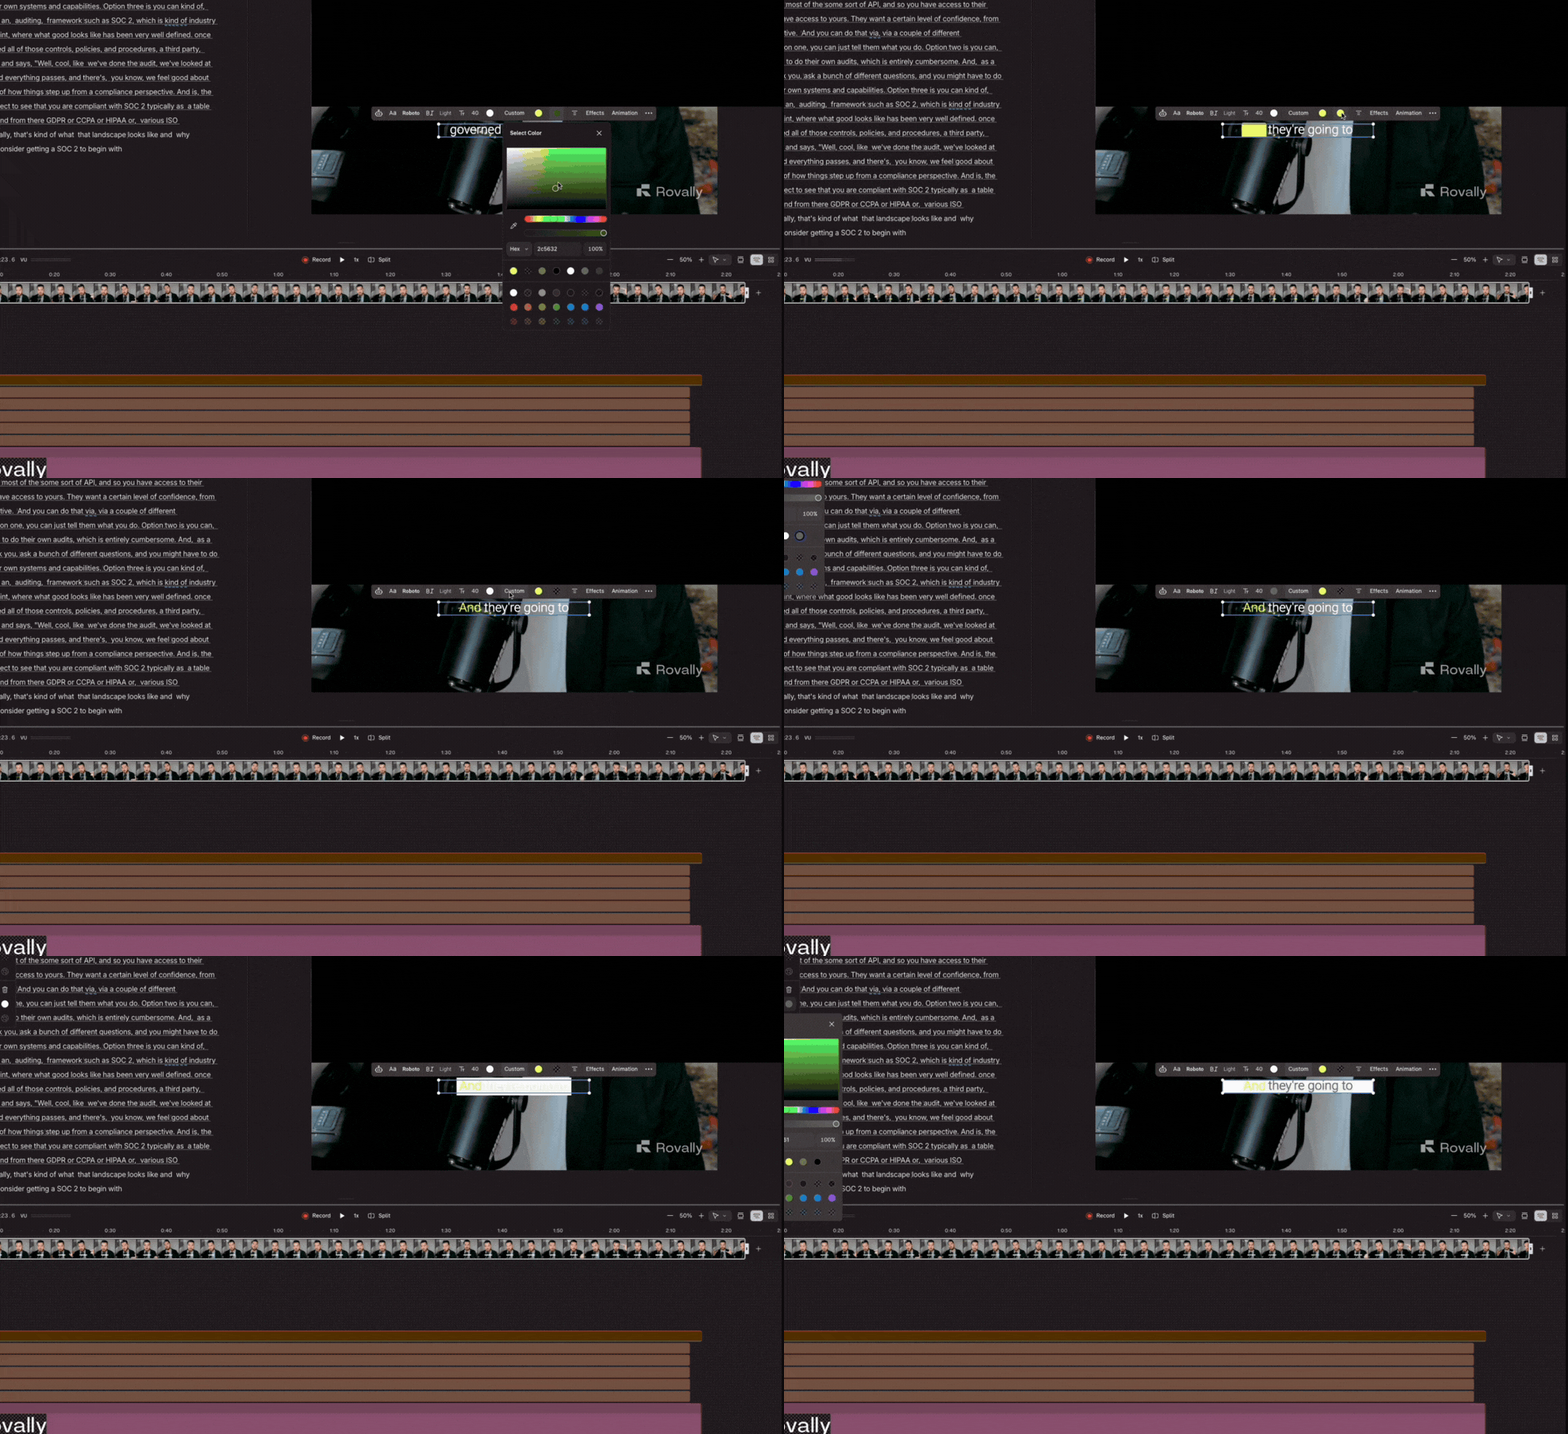
We then proceed to polish the caption styles so they align with brand guidelines.
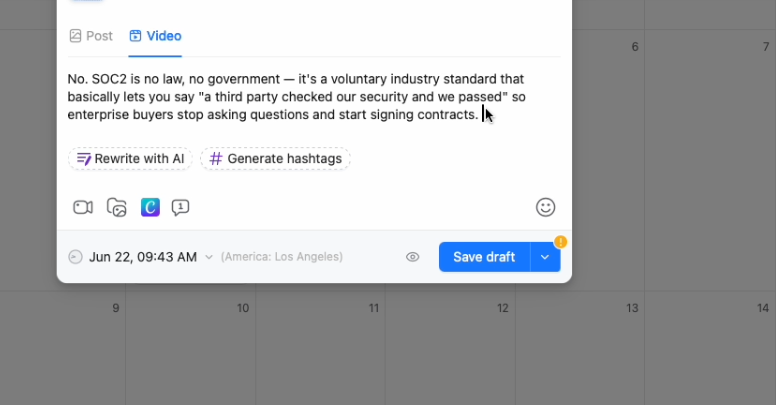
With all that complete, we are ready to write copy around the short clips. We extract the core value behind each capsule and write text blurbs that can be repurposed for social media and other channels.
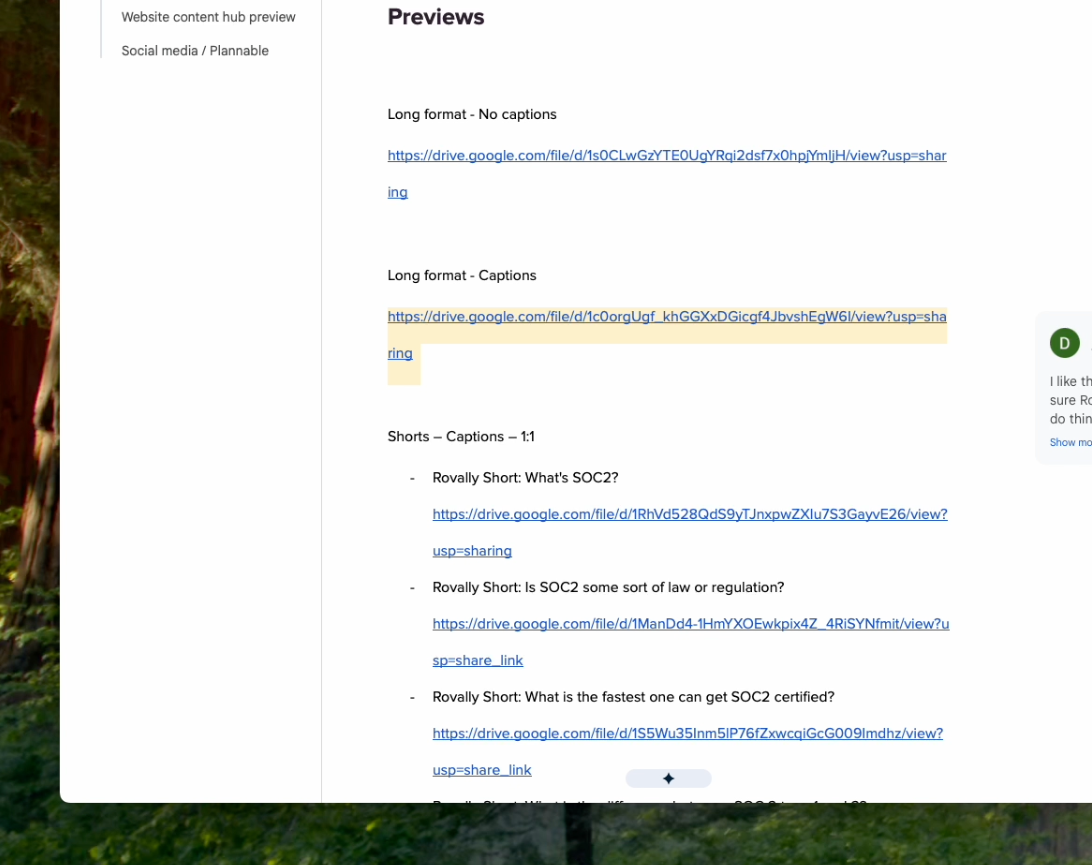
Once everything is ready, it’s preview time. A simple document works fine for this project to organize all exports: the long-format version and the short clips to be repurposed by the client across social media and website Q&A sections.
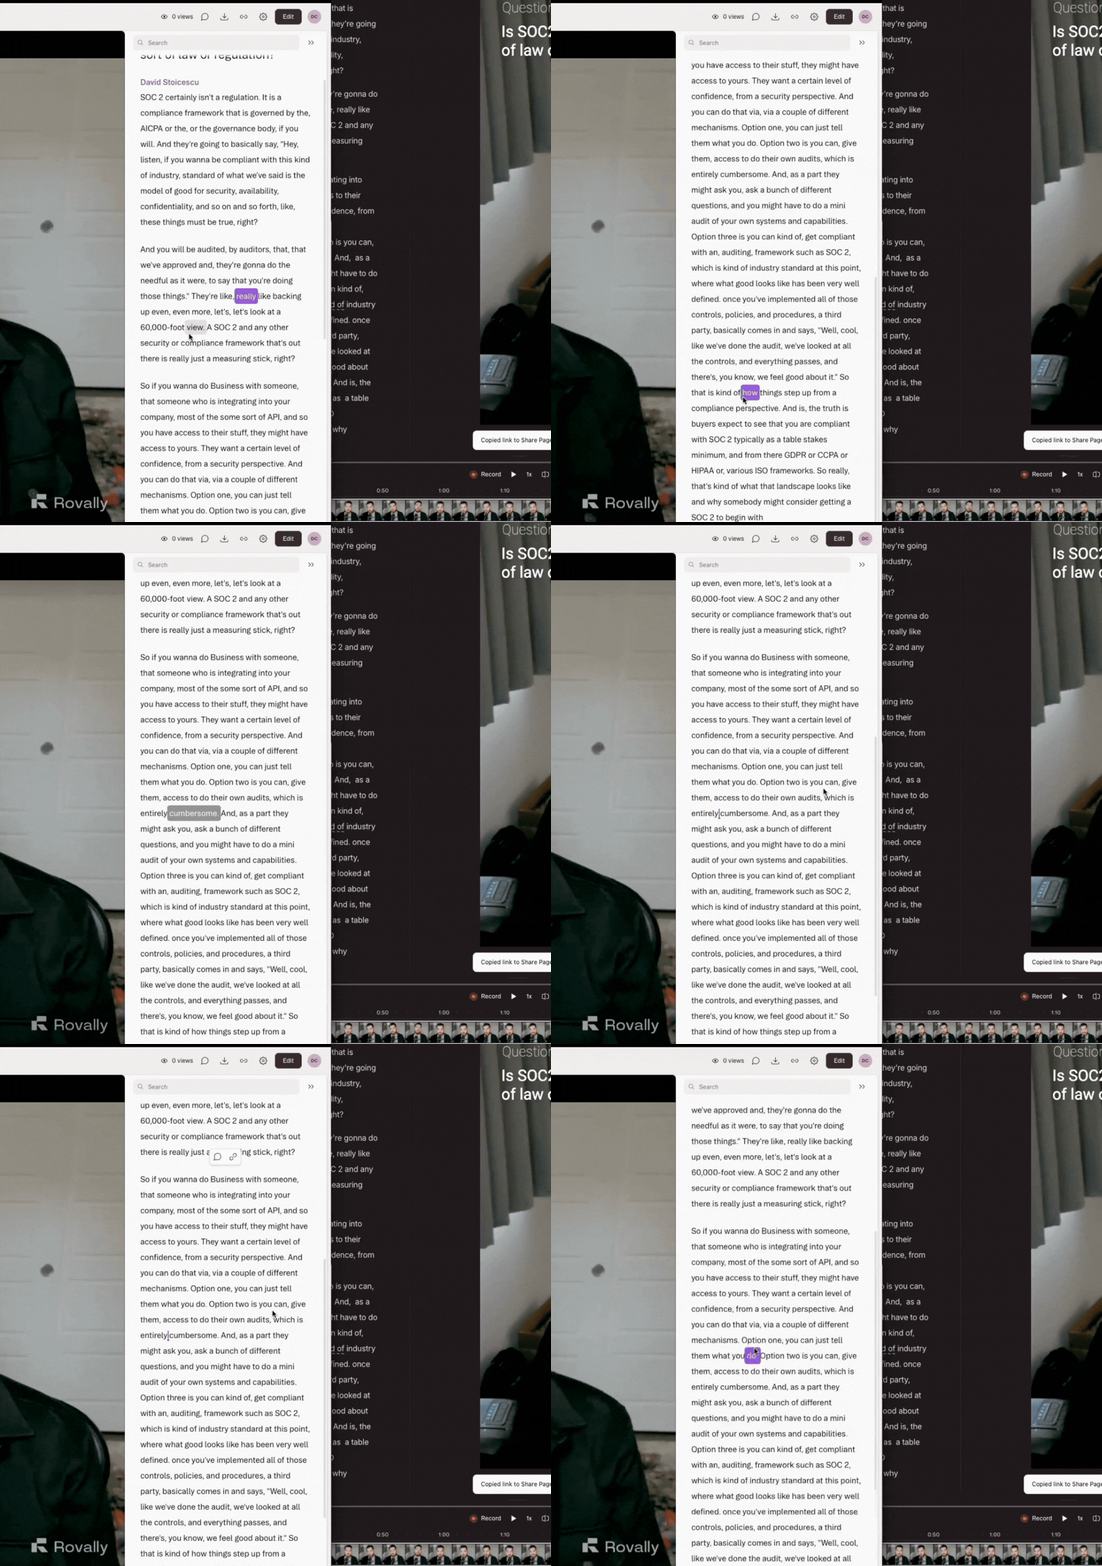
We used Descript for previews this time, which lets reviewers play the video alongside its interactive transcript.
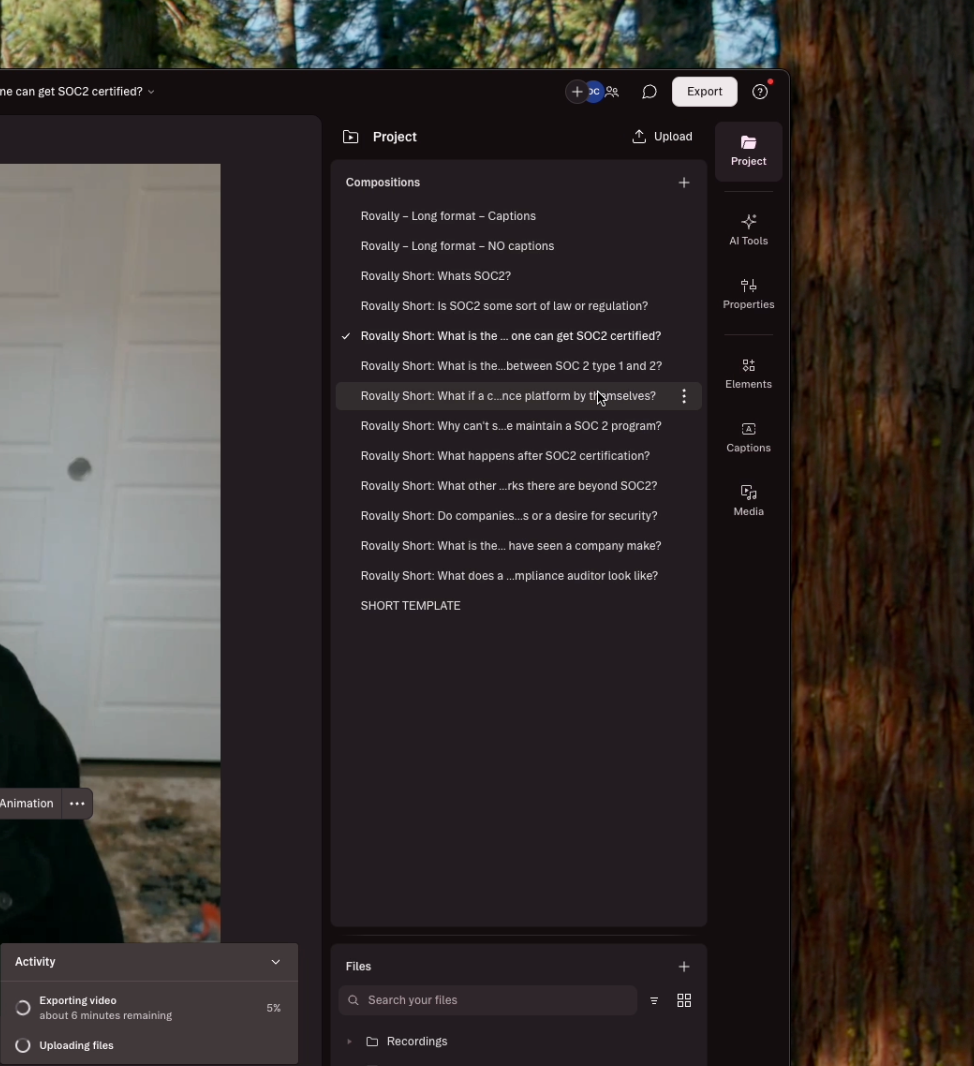
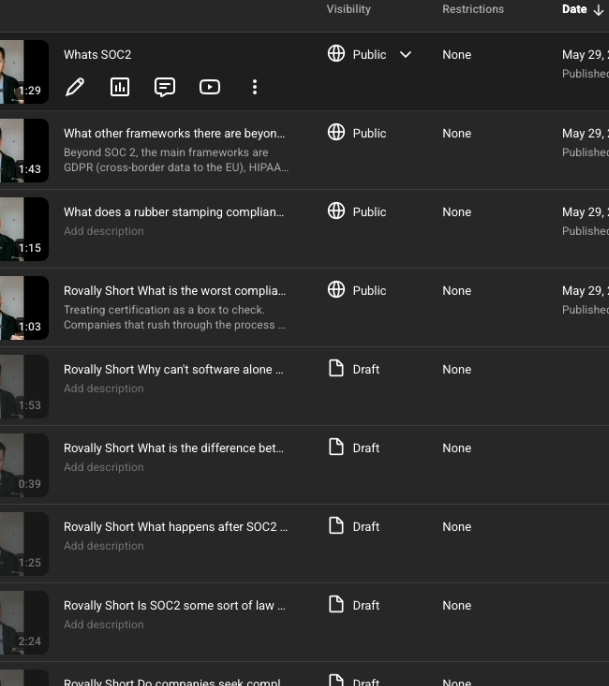
With final approvals secured, we now have a full collection of shorts ready to export and organize for upcoming publication.
What follows next is drafting copy blurbs for each video capsule to accompany publications across different platforms. Our AI tool of choice for refining text this time is Claude, which consistently produces accurate, fluff-free edits. We use AI strictly as a medium to fix grammar rather than to "generate posts." Relying on the latter usually yields emoji-stuffed, generic social posts. That is not our goal: the entire purpose of this project is to extract expert insight and present it in consumable formats without diluting the speaker's authentic voice with generic AI output.
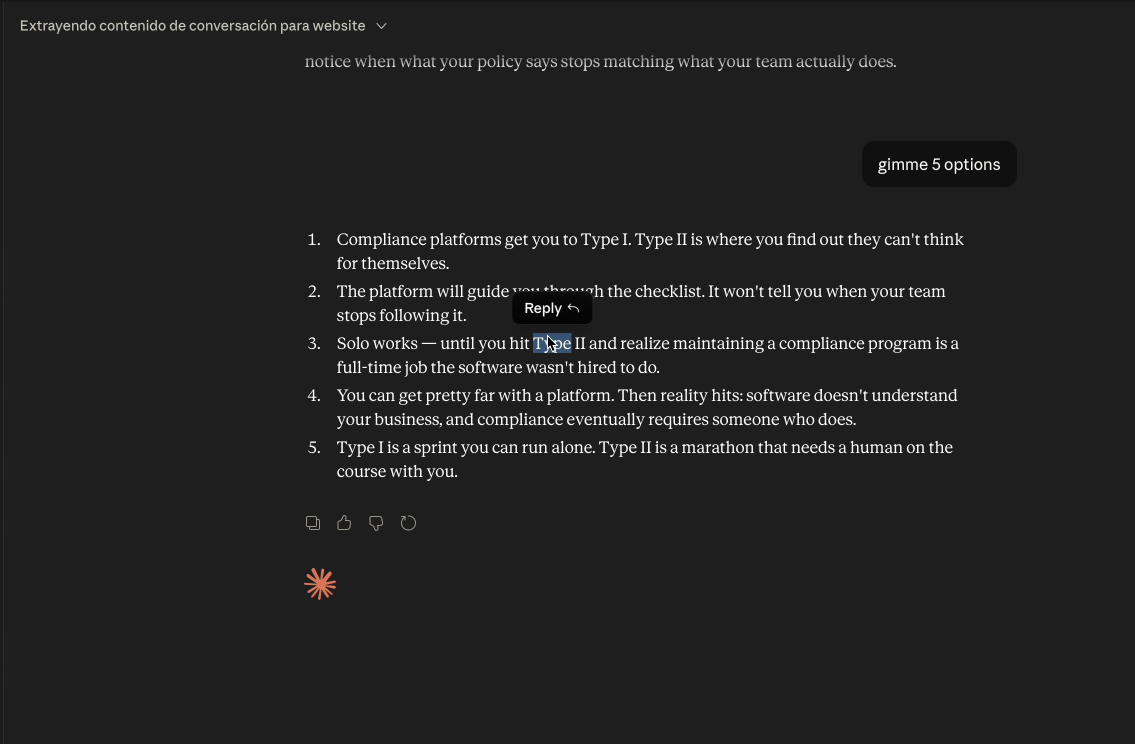
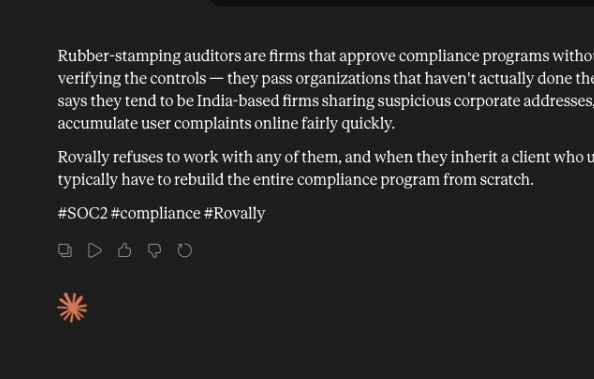
So we end up writing the blurbs ourselves with AI assistance, staying true to the speaker's original voice.
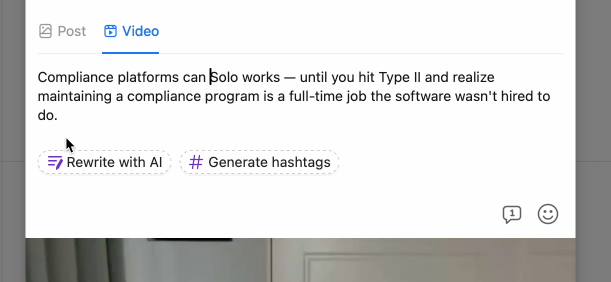
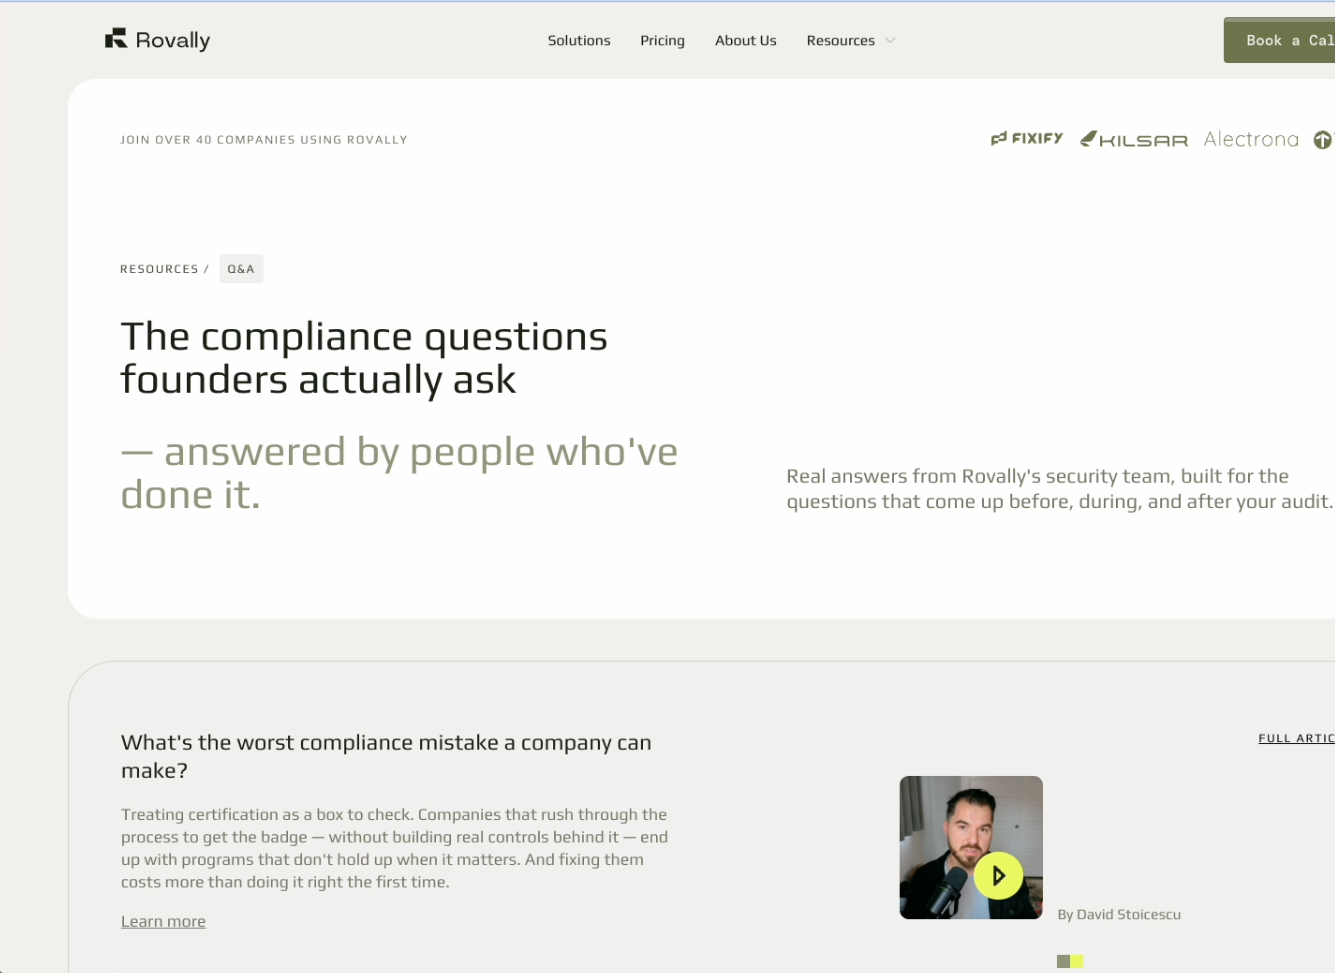
All of that content is now ready for distribution across multiple destinations, including a website content hub that answers common questions for prospects and clients while providing fresh content for LLMs to reference when generating search answers.
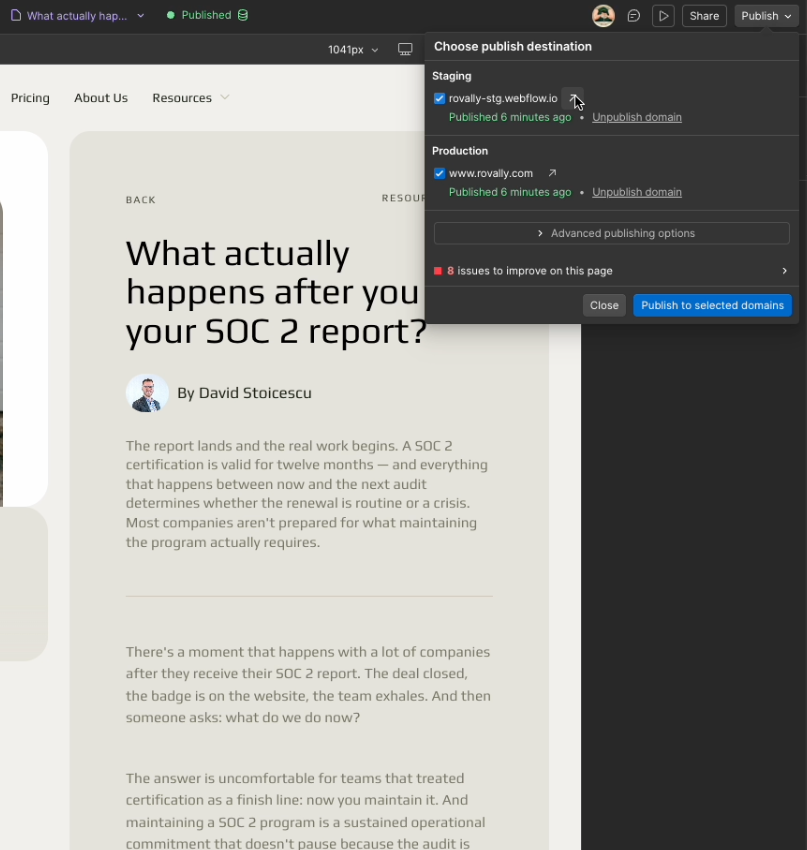
This content hub consists of a series of dedicated Q&A resources, fitting perfectly with the theme of the "Answering questions from the internet" video series.
Then, the video clips themselves are distributed across social media channels.
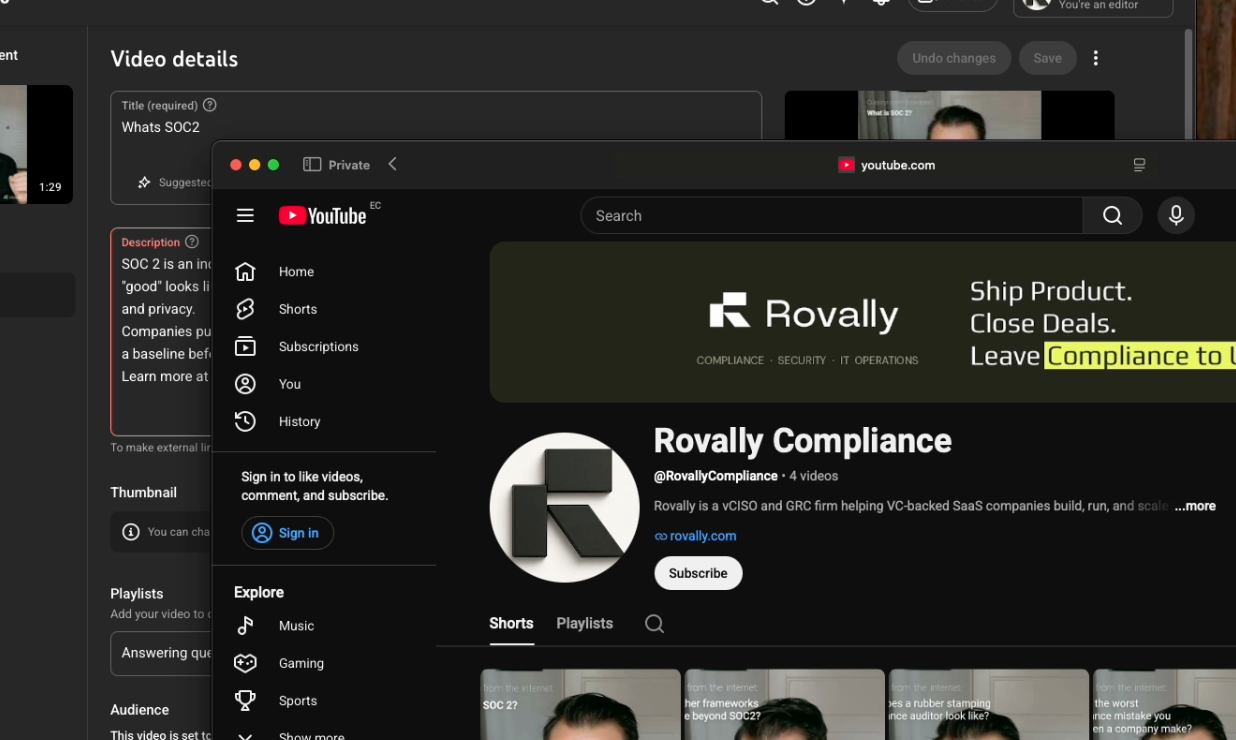
Beyond crafting video descriptions true to the speaker's voice, we place high value on interlinking social posts with the website content hub to build domain authority—applying solid white-hat SEO practices that extend to generative engine optimization (GEO for LLMs).
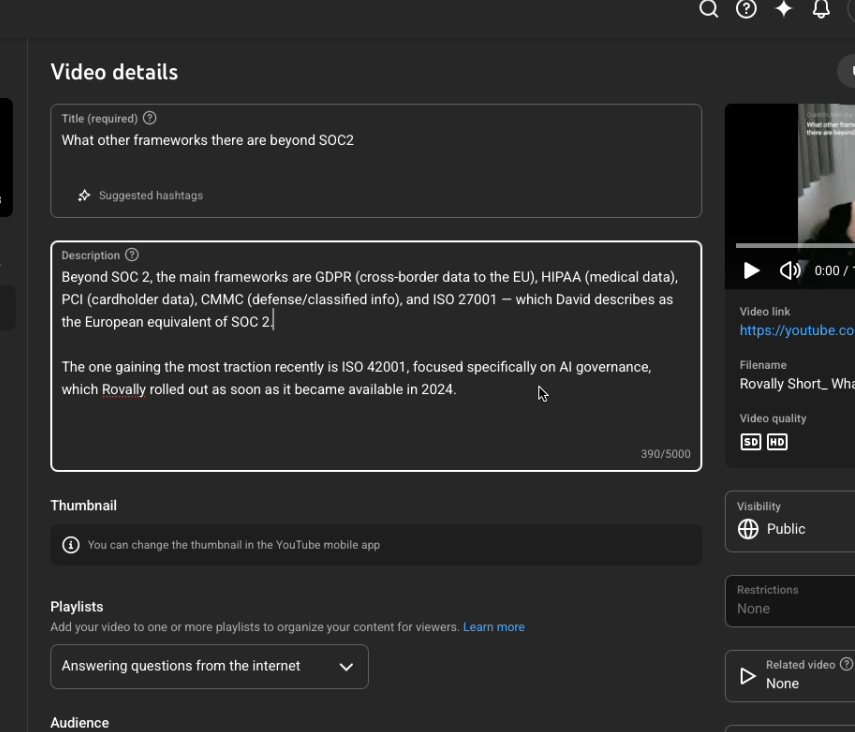
That’s why publishing happens in parallel between the website content hub and social media channels, connecting them through strategic interlinking.
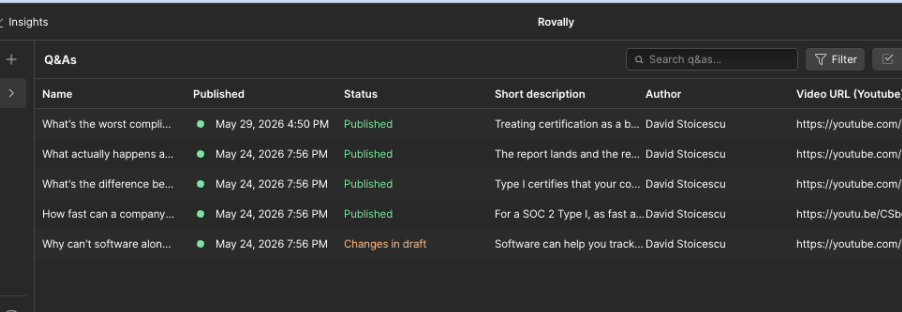
As a final result, we have the short content capsules scheduled and ready to go live across platforms.
In summary: this is what happens after we record and back up a conversation with a speaker, leading up to finished assets ready for web distribution. What's produced up to this point provides raw material for marketing to build upon: for example, ad campaigns can boost these posts to drive brand awareness, establish authority, and strengthen organic SEO and GEO through linked content hubs. Additionally, these assets serve as valuable creative fodder for marketing campaigns. Curious to learn more? Check out additional behind-the-scenes articles and case studies on this topic below.

Strategy, design, content and growth.